Fine-tuning

Finetuning Quickstart – learn how to fine-tune an LLM in 5 mins.

1. Register for an account

First, register for an account to get an API key. New accounts come with $1 to get started.

Once you've registered, set your account's API key to an environment variable named TOGETHER_API_KEY:

export TOGETHER_API_KEY=xxxxx

2. Install your preferred library

Together provides an official library for Python:

pip install together --upgrade
npm install together-ai

3. Fine-tuning Dataset

We will use a subset of the CoQA conversational dataset, download the formatted dataset here.

This is what one row/sample from the CoQA dataset looks like in conversation format:

{'messages':  
    [  
     {
       'content': 'Read the story and extract answers for the questions.\nStory: An incandescent light bulb, incandescent lamp or incandescent ...',
       'role': 'system'
     },  
     {
       'content': 'What is the energy source for an incandescent bulb?', 
       'role': 'user'
     },  
     {
       'content': 'a wire filament', 
       'role': 'assistant'
     },  
     {
       'content': 'Is it hot?', 
       'role': 'user'
     },  
     {'content': 'yes', 
      'role': 'assistant'
     },  
     ...  
    ]  
 }

4. Check and Upload Dataset

To upload your data, use the CLI or our Python library:

together files check "small_coqa.jsonl" 

together files upload "small_coqa.jsonl"
import os
from together import Together

client = Together(api_key=os.environ.get("TOGETHER_API_KEY"))

file_resp = client.files.upload(file="small_coqa.jsonl", check=True)

print(file_resp.model_dump())

You'll see the following output once the upload finishes:

{
  id='file-629e58b4-ff73-438c-b2cc-f69542b27980', 
  object=<ObjectType.File: 'file'>, 
  created_at=1732573871, 
  type=None, 
  purpose=<FilePurpose.FineTune: 'fine-tune'>, 
  filename='small_coqa.jsonl', 
  bytes=0, 
  line_count=0, 
  processed=False, 
  FileType='jsonl'
}

You'll be using your file's ID (the string that begins with "file-") to start your fine-tuning job, so store it somewhere before moving on.

You're now ready to kick off your first fine-tuning job!

5. Starting a fine-tuning job

We support both LoRA and full fine-tuning – see how to start a finetuning job with either method below.

together fine-tuning create \
  --training-file "file-629e58b4-ff73-438c-b2cc-f69542b27980" \
  --model "meta-llama/Meta-Llama-3.1-8B-Instruct-Reference" \
  --lora
# Trigger fine-tuning job

response = client.fine_tuning.create(
  training_file = file_resp.id,
  model = 'meta-llama/Meta-Llama-3.1-8B-Instruct-Reference',
  lora = True,
)

print(response)

You can specify many more fine-tuning parameters to customize your job. See the full list of hyperparameters and their definitions here.

The response object will have all the details of your job, including its ID and a status key that starts out as "pending":

{
  id='ft-66592697-0a37-44d1-b6ea-9908d1c81fbd', 
  training_file='file-63b9f097-e582-4d2e-941e-4b541aa7e328', 
  validation_file='', 
  model='meta-llama/Meta-Llama-3.1-8B-Instruct-Reference', 
  output_name='zainhas/Meta-Llama-3.1-8B-Instruct-Reference-30b975fd', 
... 
  status=<FinetuneJobStatus.STATUS_PENDING: 'pending'>
}

6. Monitoring a fine-tuning job's progress

After you started your job, visit your jobs dashboard. You should see your new job!

You can also pass your Job ID to retrieve to get the latest details about your job directly from your code:

together fine-tuning retrieve "ft-66592697-0a37-44d1-b6ea-9908d1c81fbd"
response = client.fine_tuning.retrieve('ft-66592697-0a37-44d1-b6ea-9908d1c81fbd')

print(response.status) # STATUS_UPLOADING

Your fine-tuning job will go through several phases, including Pending, Queued, Running, Uploading, and Completed.

7. Using your fine-tuned model

Option 1: LoRA Inference

If you fine-tuned the model using LoRA, as we did above, then the model will instantly be available for use as follows:

MODEL_NAME_FOR_INFERENCE="zainhas/Meta-Llama-3.1-8B-Instruct-Reference-30b975fd"

curl -X POST https://api.together.xyz/v1/completions \
  -H "Authorization: Bearer $TOGETHER_API_KEY" \
  -H "Content-Type: application/json" \
  -d '{
    "model": "'$MODEL_NAME_FOR_INFERENCE'",
    "messages": [
      {
        "role": "user",
        "content": "What is the capital of France?",
      },
    ],
    "max_tokens": 128
  }'
import os
from together import Together

client = Together(api_key = TOGETHERAI_API_KEY)

user_prompt = "What is the capital of France?"

response = client.chat.completions.create(
    model="zainhas/Meta-Llama-3.1-8B-Instruct-Reference-30b975fd",
    messages=[
        {
            "role": "user",
            "content": user_prompt,
        }
    ],
    max_tokens=512,
    temperature=0.7,
)

print(response.choices[0].message.content)

Option 2: Dedicated Endpoint Deployment

Once your fine-tune job completes, you should see your new model in your models dashboard:
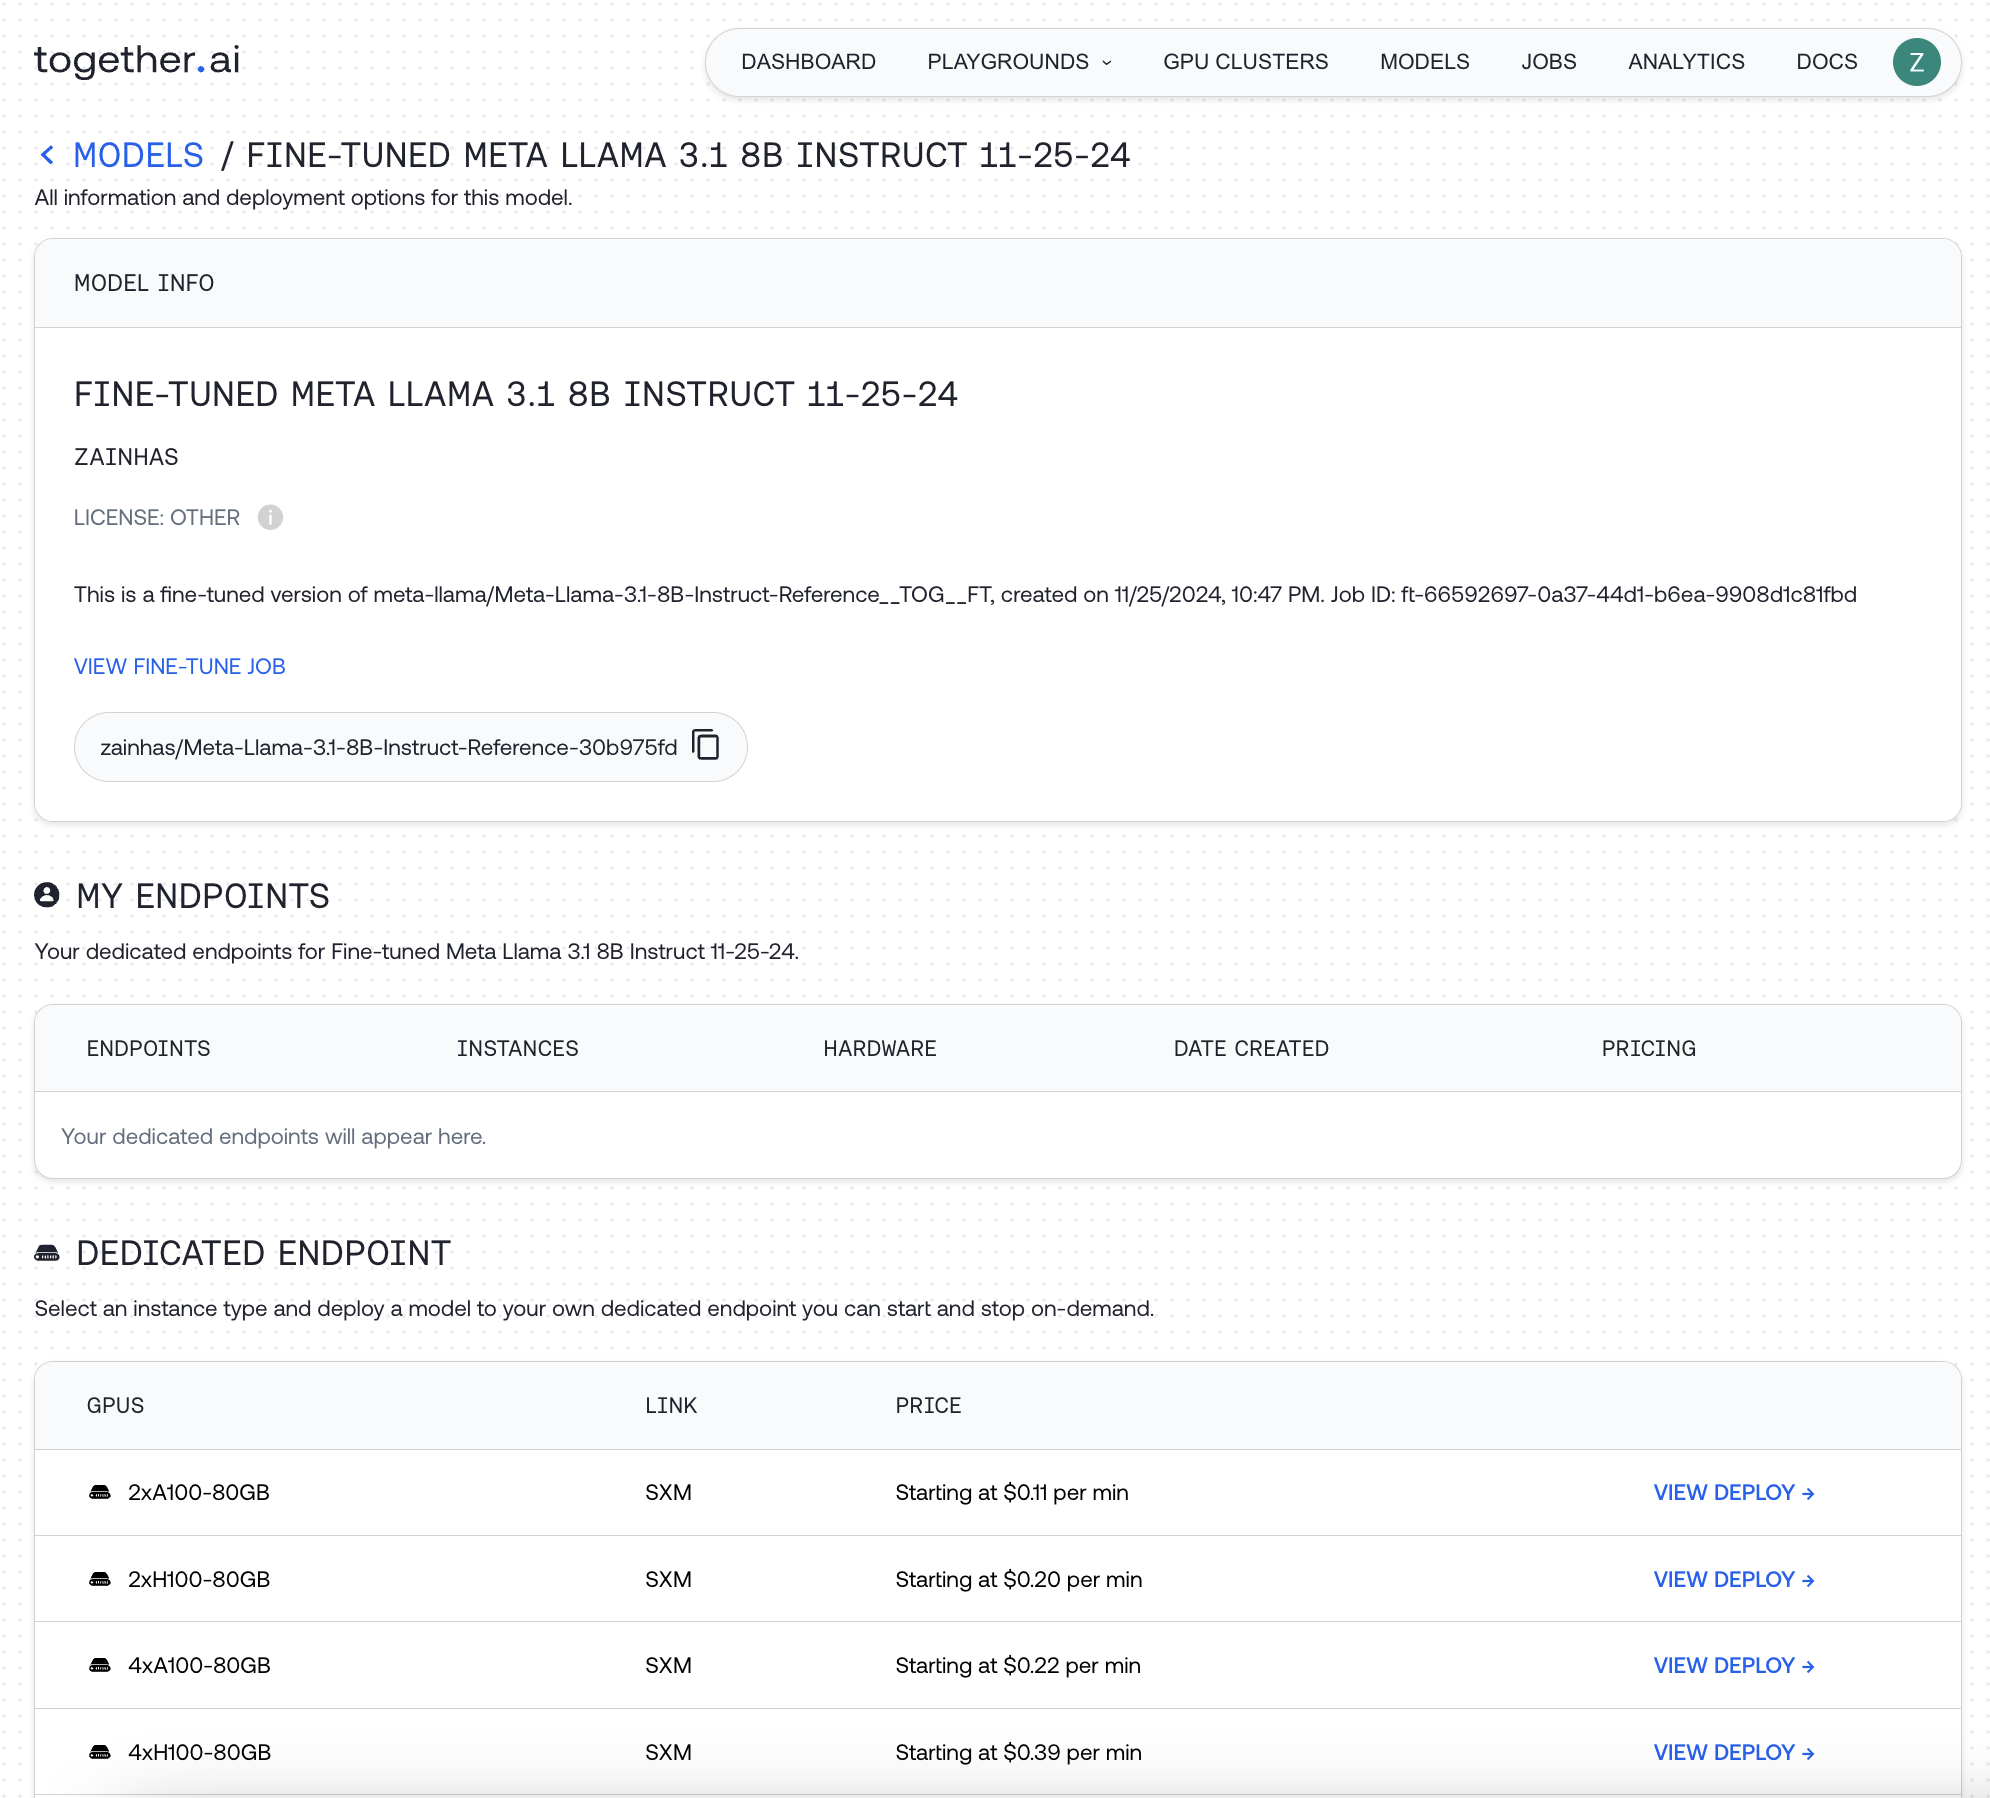
To use your model, you can either host it on Together AI, click View Deploy for an hourly usage fee, or download your model checkpoint and run it locally.

For more details read the detailed walkthrough How-to: Fine-tuning .