Overview
nanochat is Andrej Karpathy’s end-to-end ChatGPT clone that demonstrates how a full conversational AI stack, from tokenizer to web UI, can be trained and deployed for $100 on 8×H100 hardware. In this guide, you’ll learn how to train and deploy nanochat using Together’s Instant Clusters. The entire process takes approximately 4 hours on an 8×H100 cluster and includes:- Training a BPE tokenizer on FineWeb-Edu
- Pretraining a base transformer model
- Midtraining on curated tasks
- Supervised fine-tuning for conversational alignment
- Deploying a FastAPI web server with a chat interface
Prerequisites
Before you begin, make sure you have:- A Together AI account with access to Instant Clusters
- Basic familiarity with SSH and command line operations
kubectlinstalled on your local machine (installation guide)
Training nanochat
Step 1: Create an Instant Cluster
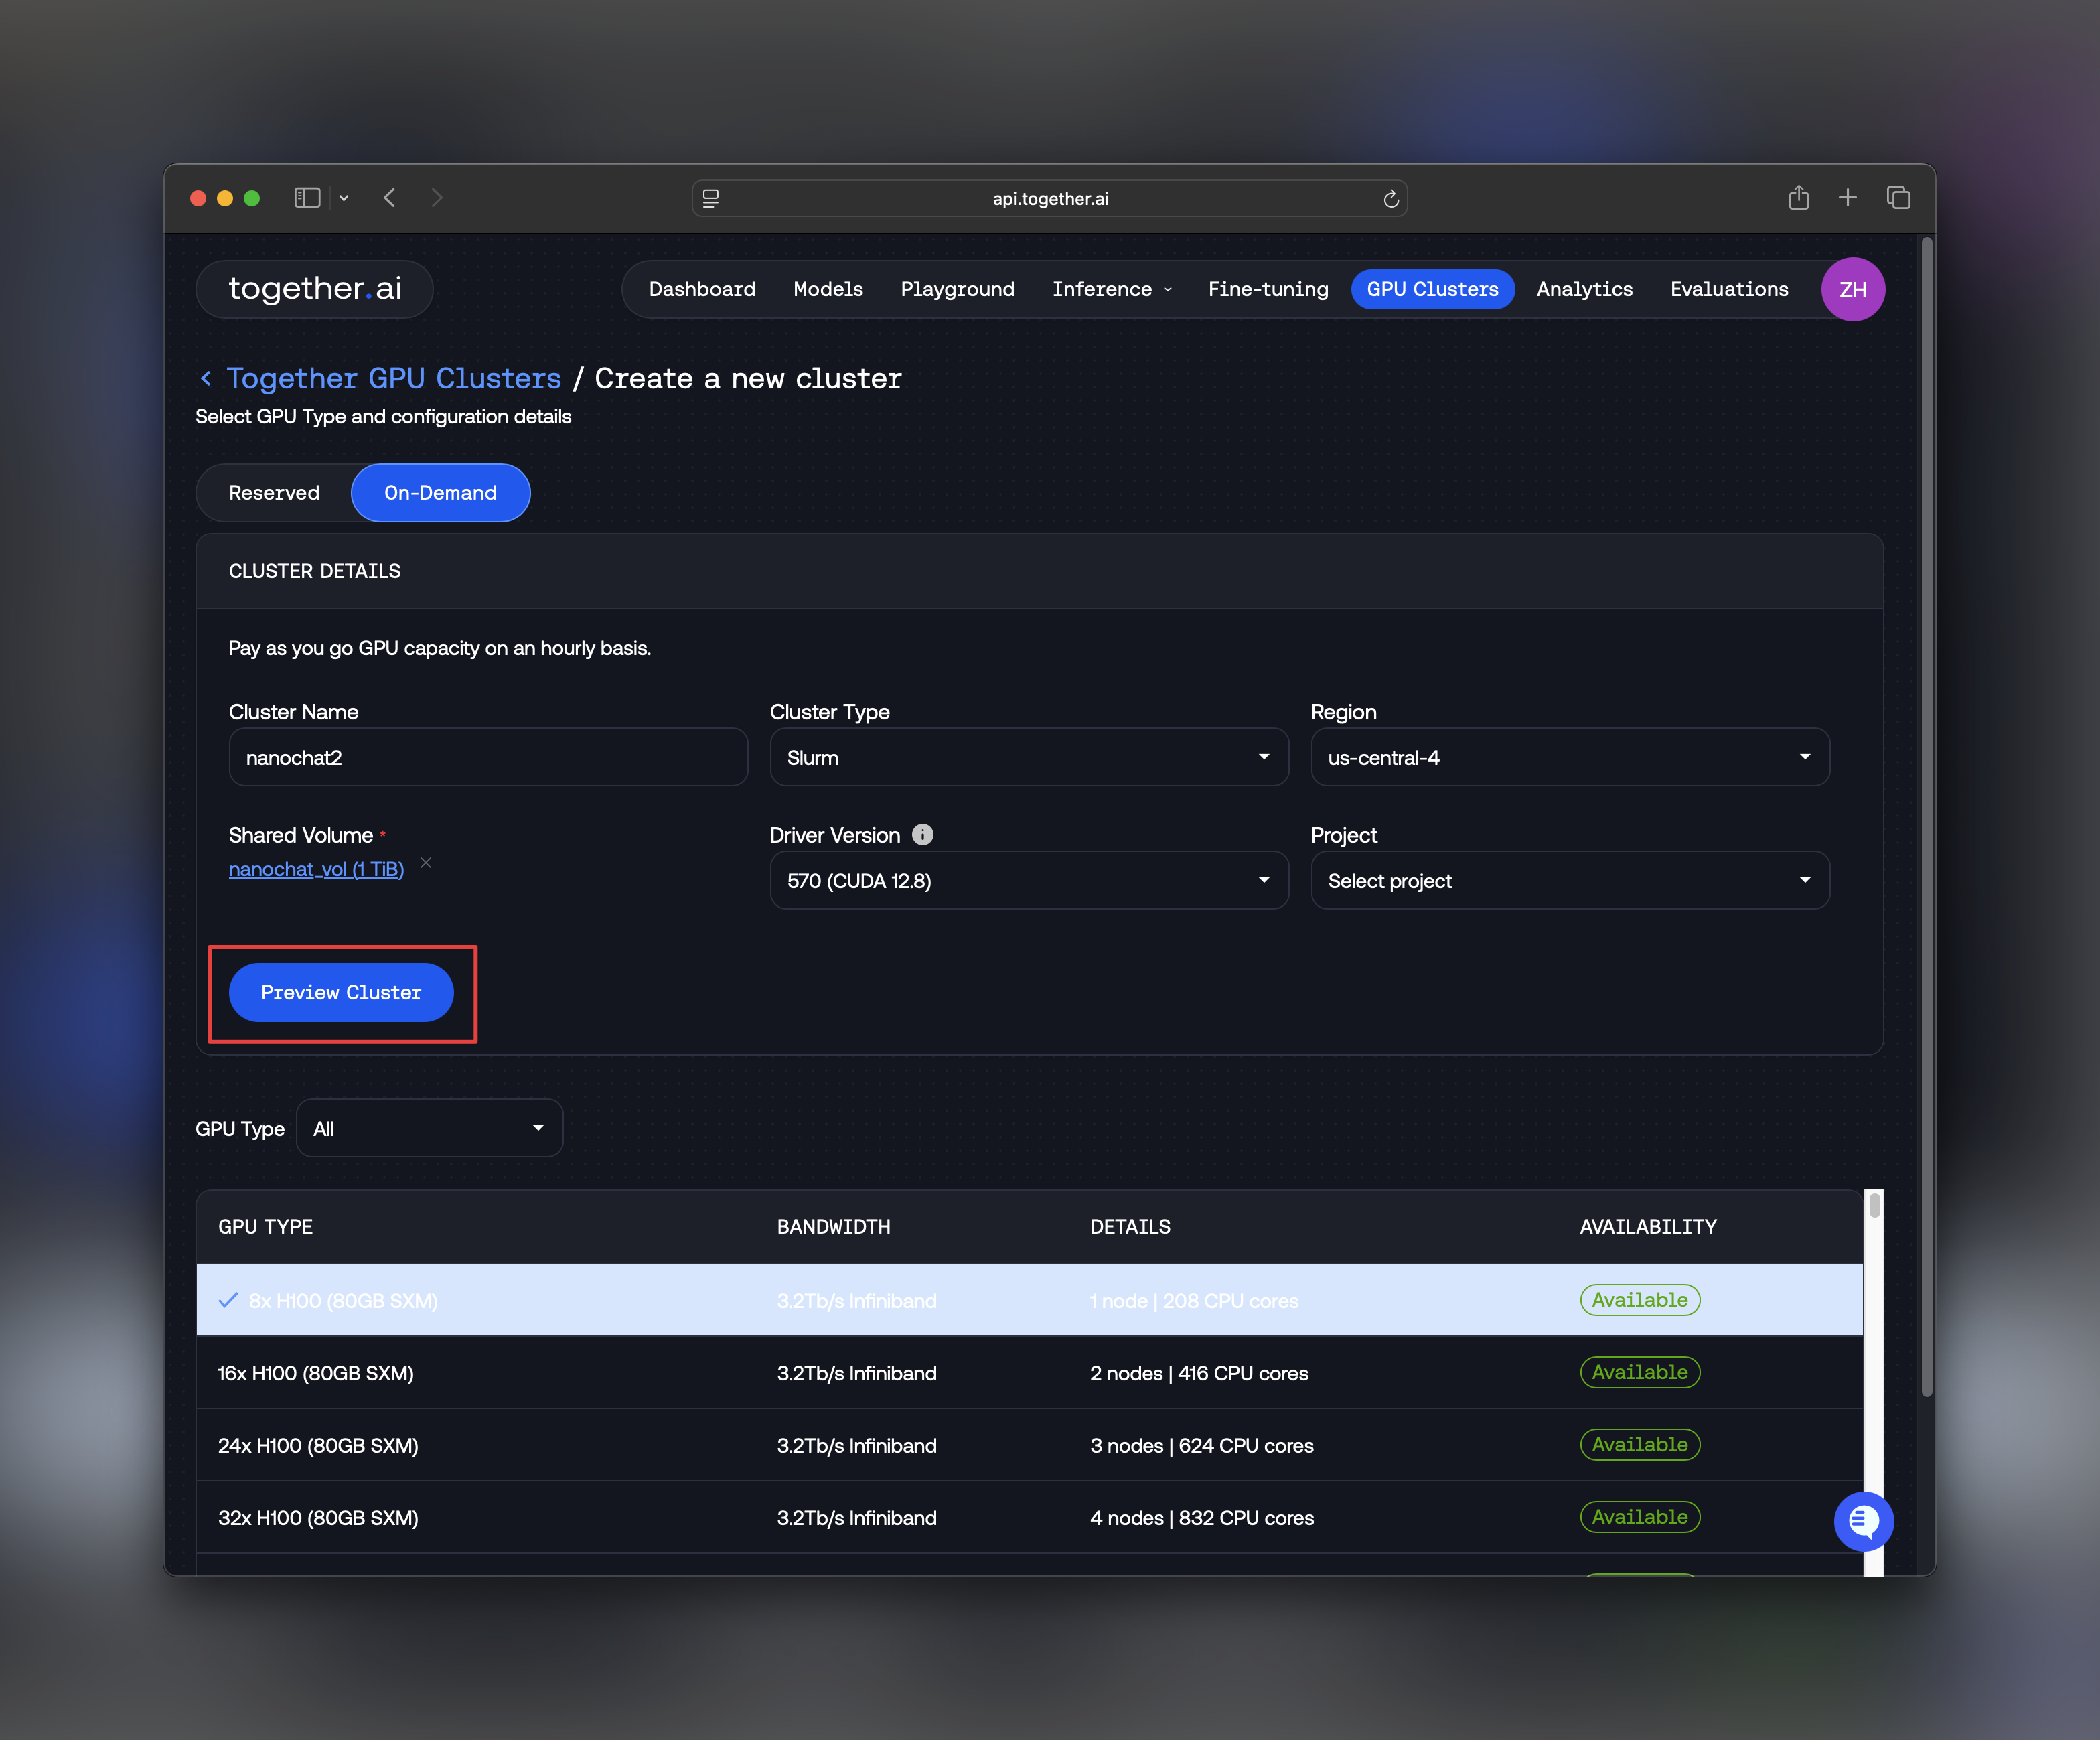
First, let’s create an 8×H100 cluster to train nanochat.- Log into api.together.ai
- Select GPU Clusters in the top navigation menu
- Select Create Cluster
- Select On-demand capacity
- Choose 8xH100 as your cluster size
- Enter a cluster name (e.g.,
nanochat-training) - Select Slurm on Kubernetes as the cluster type
- Choose your preferred region
- Create a shared volume, min 1 TB storage
- Click Preview Cluster and then “Confirm & Create”
For detailed information about Instant Clusters features and options, see the Instant Clusters documentation.
Step 2: SSH into Your Cluster
From the Instant Clusters UI, you’ll find SSH access details for your cluster. A command like the one below can be copied from the instant clusters dashboard.
ssh -o ServerAliveInterval=60 - it sends a ping to the ssh server every 60s, so it keeps the TCP ssh session alive, even if there’s no terminal input/output for a long time during training.
Once connected, you’ll be in the login node of your Slurm cluster.
Step 3: Clone nanochat and Set Up Environment
Let’s clone the nanochat repository and set up the required dependencies.Step 4: Access GPU Resources
Use Slurm’ssrun command to allocate 8 GPUs for your training job:
Step 5: Configure Cache Directory
To optimize data loading performance, set the nanochat cache directory to the/scratch volume, which is optimized for high-throughput I/O:
speedrun.sh file and ensures that dataset streaming, checkpoints, and intermediate artifacts don’t bottleneck your training.
This step is critical and without it, during training, you’ll notice that your FLOP utilization is only ~13% instead of ~50%. This is due to dataloading bottlenecks.
Step 6: Run the Training Pipeline
Now you’re ready to kick off the full training pipeline! nanochat includes aspeedrun.sh script that orchestrates all training phases:
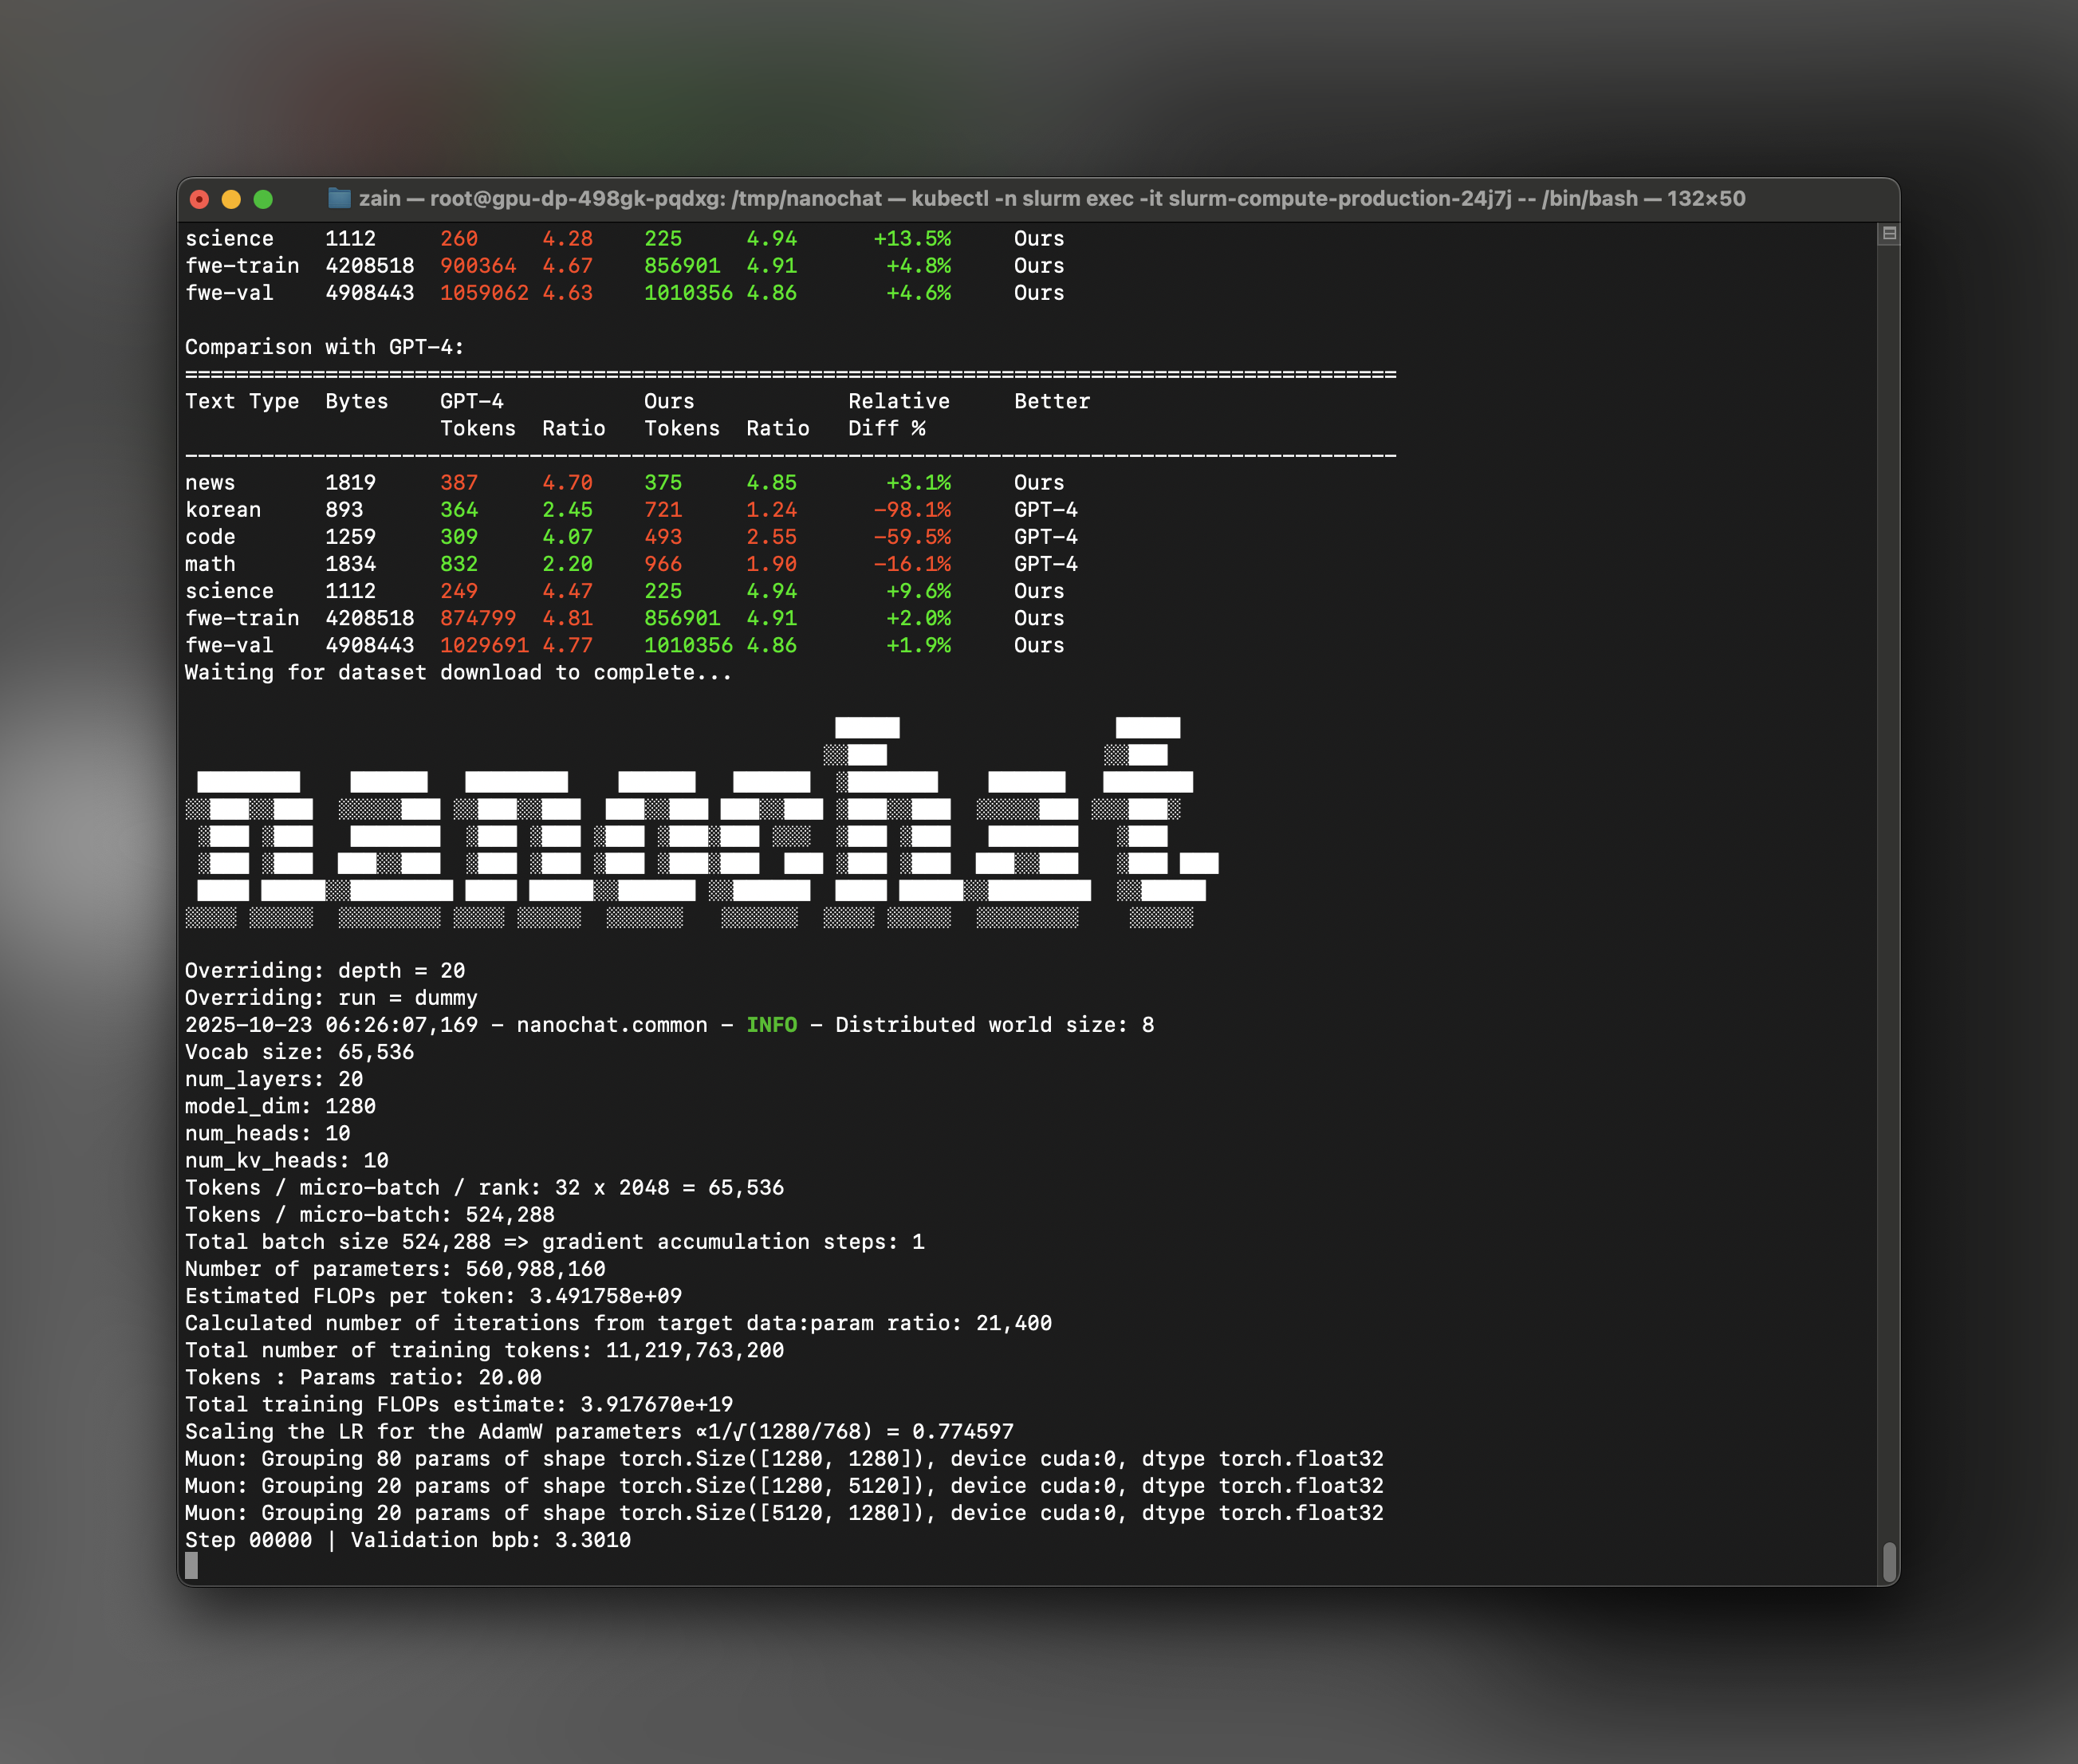
- Tokenizer Training - Trains a GPT-4 style BPE tokenizer on FineWeb-Edu data
- Base Model Pretraining - Trains the base transformer model with rotary embeddings and Muon optimizer
- Midtraining - Fine-tunes on a curated mixture of SmolTalk, MMLU, and GSM8K tasks
- Supervised Fine-Tuning (SFT) - Aligns the model for conversational interactions
- Evaluation - Runs CORE benchmarks and generates a comprehensive report
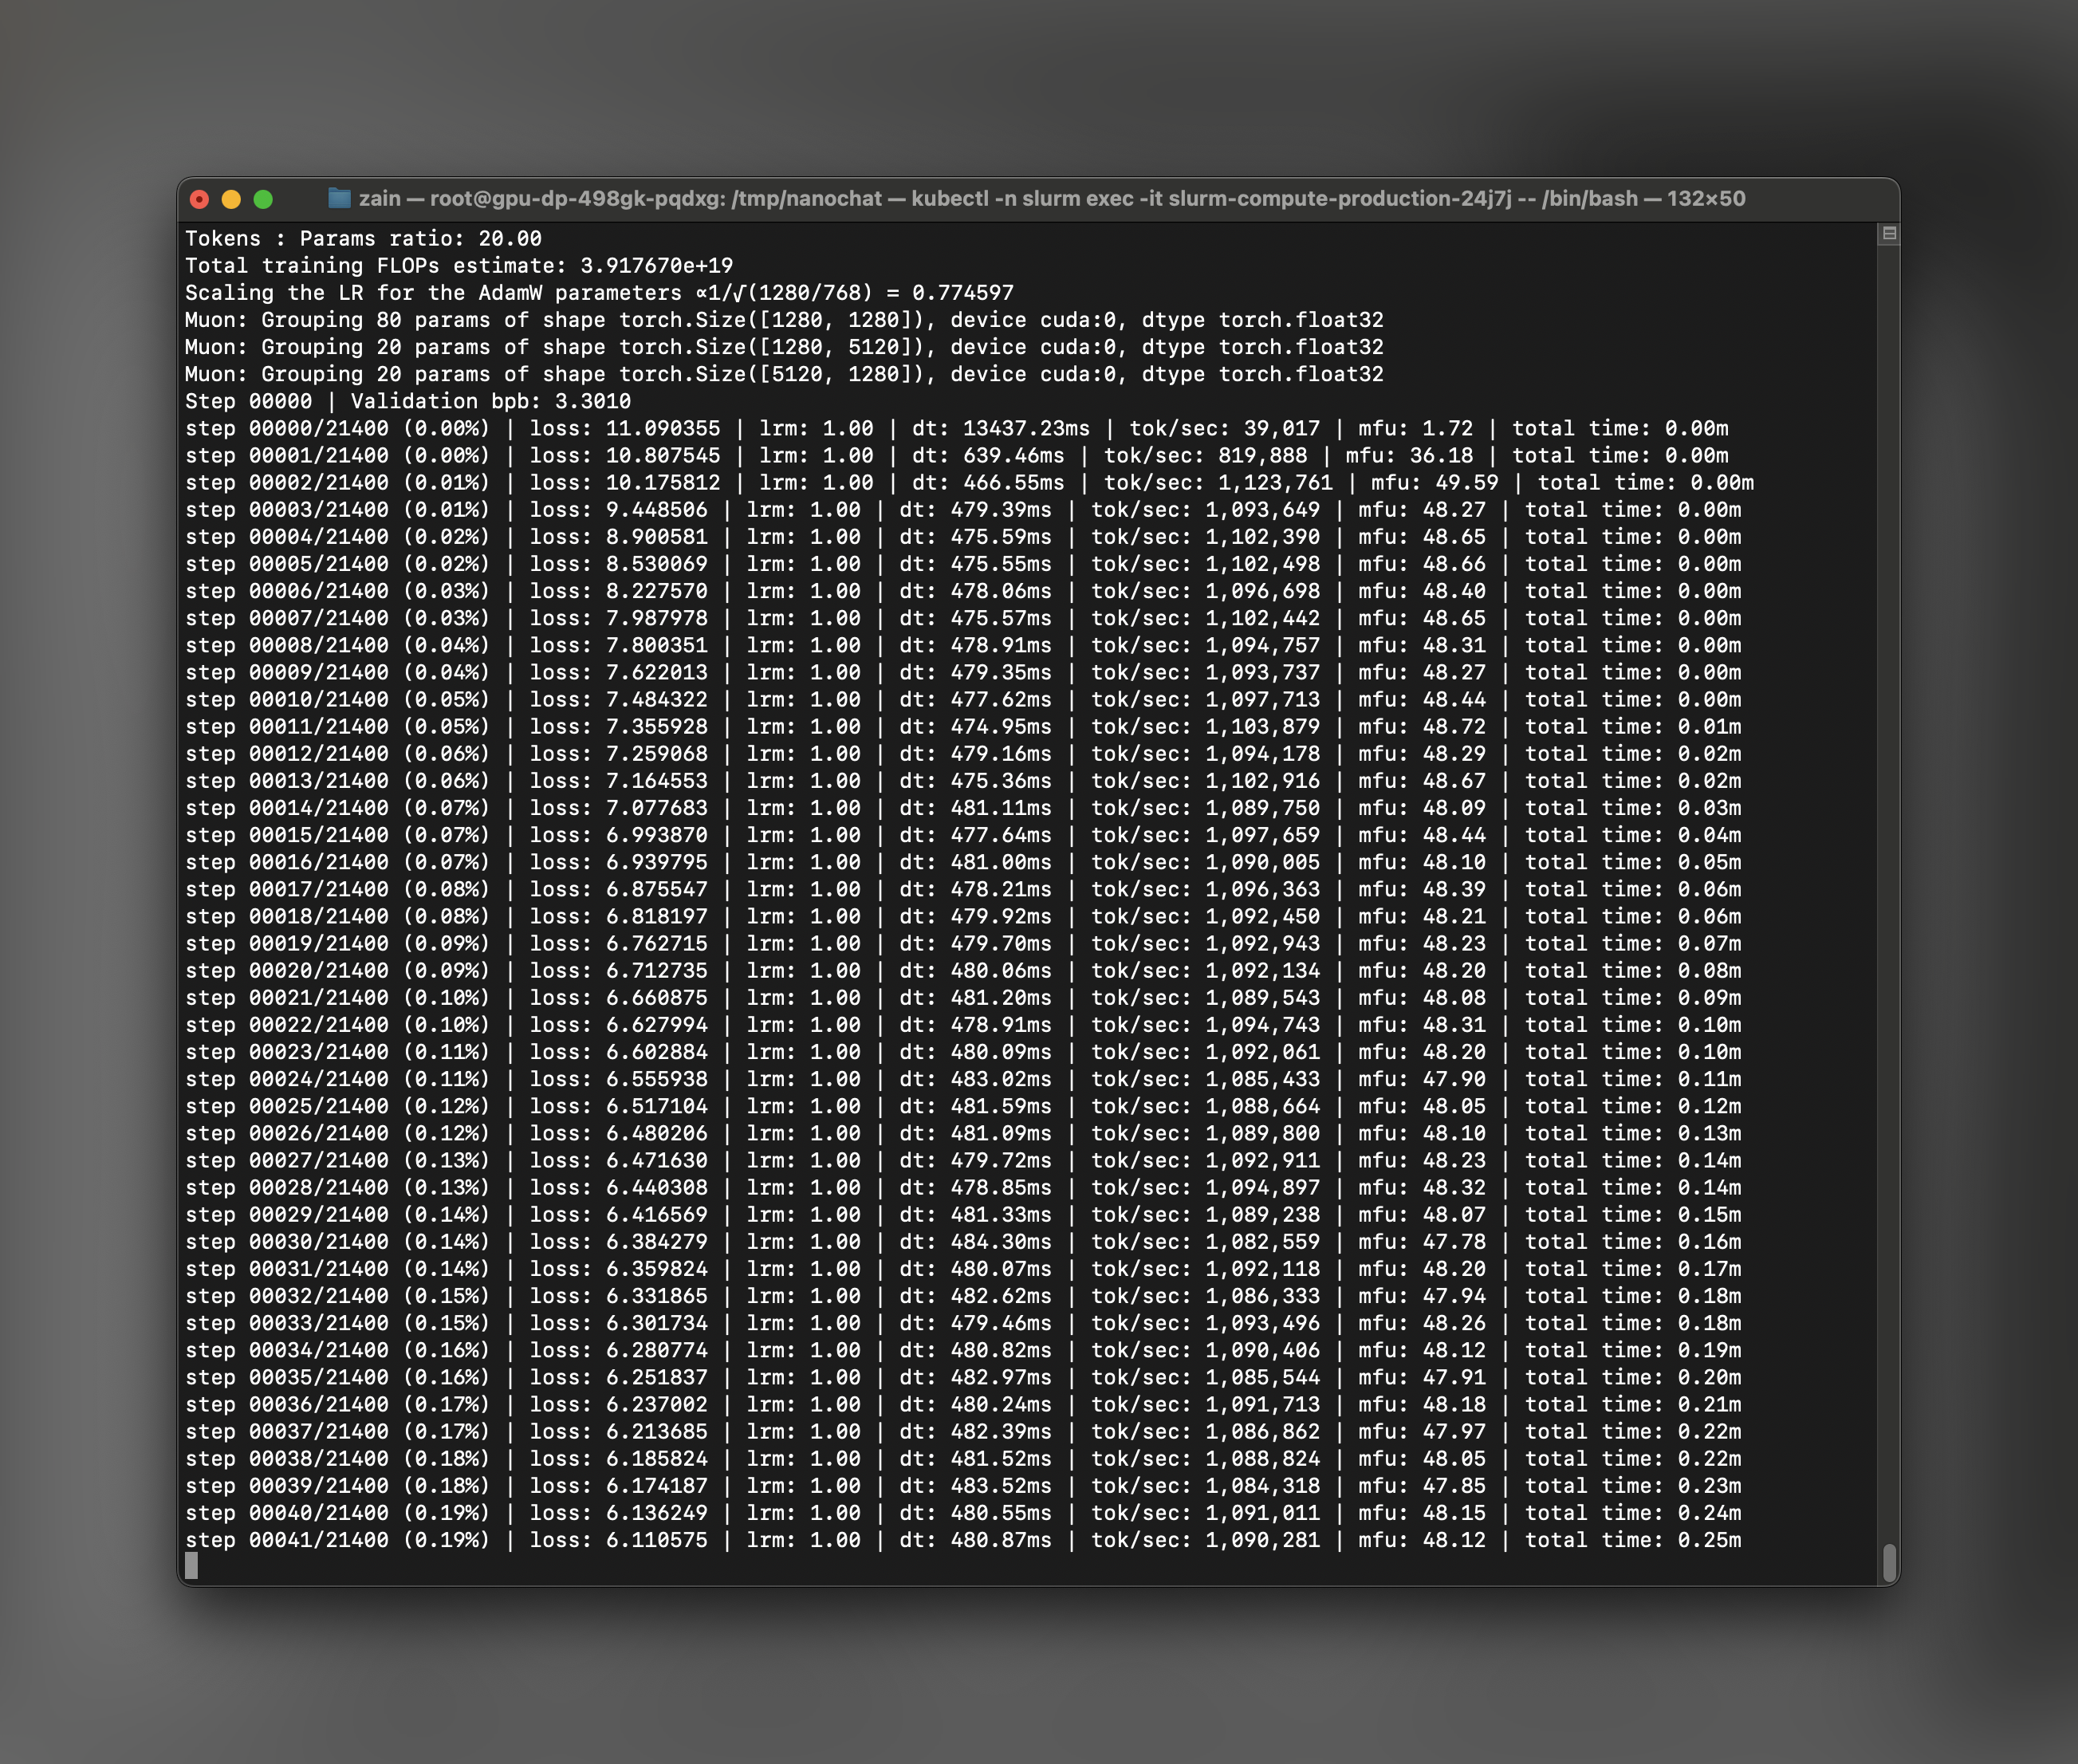
- Model Flops Utilization (MFU): Should be around 50% for optimal performance
- tok/sec: Tracks tokens processed per second of training
- Step timing: Each step should complete in a few seconds
$NANOCHAT_BASE_DIR.
nanochat Inference
Step 1: Download Your Cluster’s Kubeconfig
While training is running (or after it completes), download your cluster’s kubeconfig so you can access the cluster using kubectl. Use the Together CLI to write the credentials to a local file. Find your cluster ID withtg beta clusters list:
Step 2: Access the Compute Pod via kubectl
From your local machine, set up kubectl access to your cluster:uv:
Step 3: Launch the nanochat Web Server
Now that training is complete and your environment is set up, launch the FastAPI web server: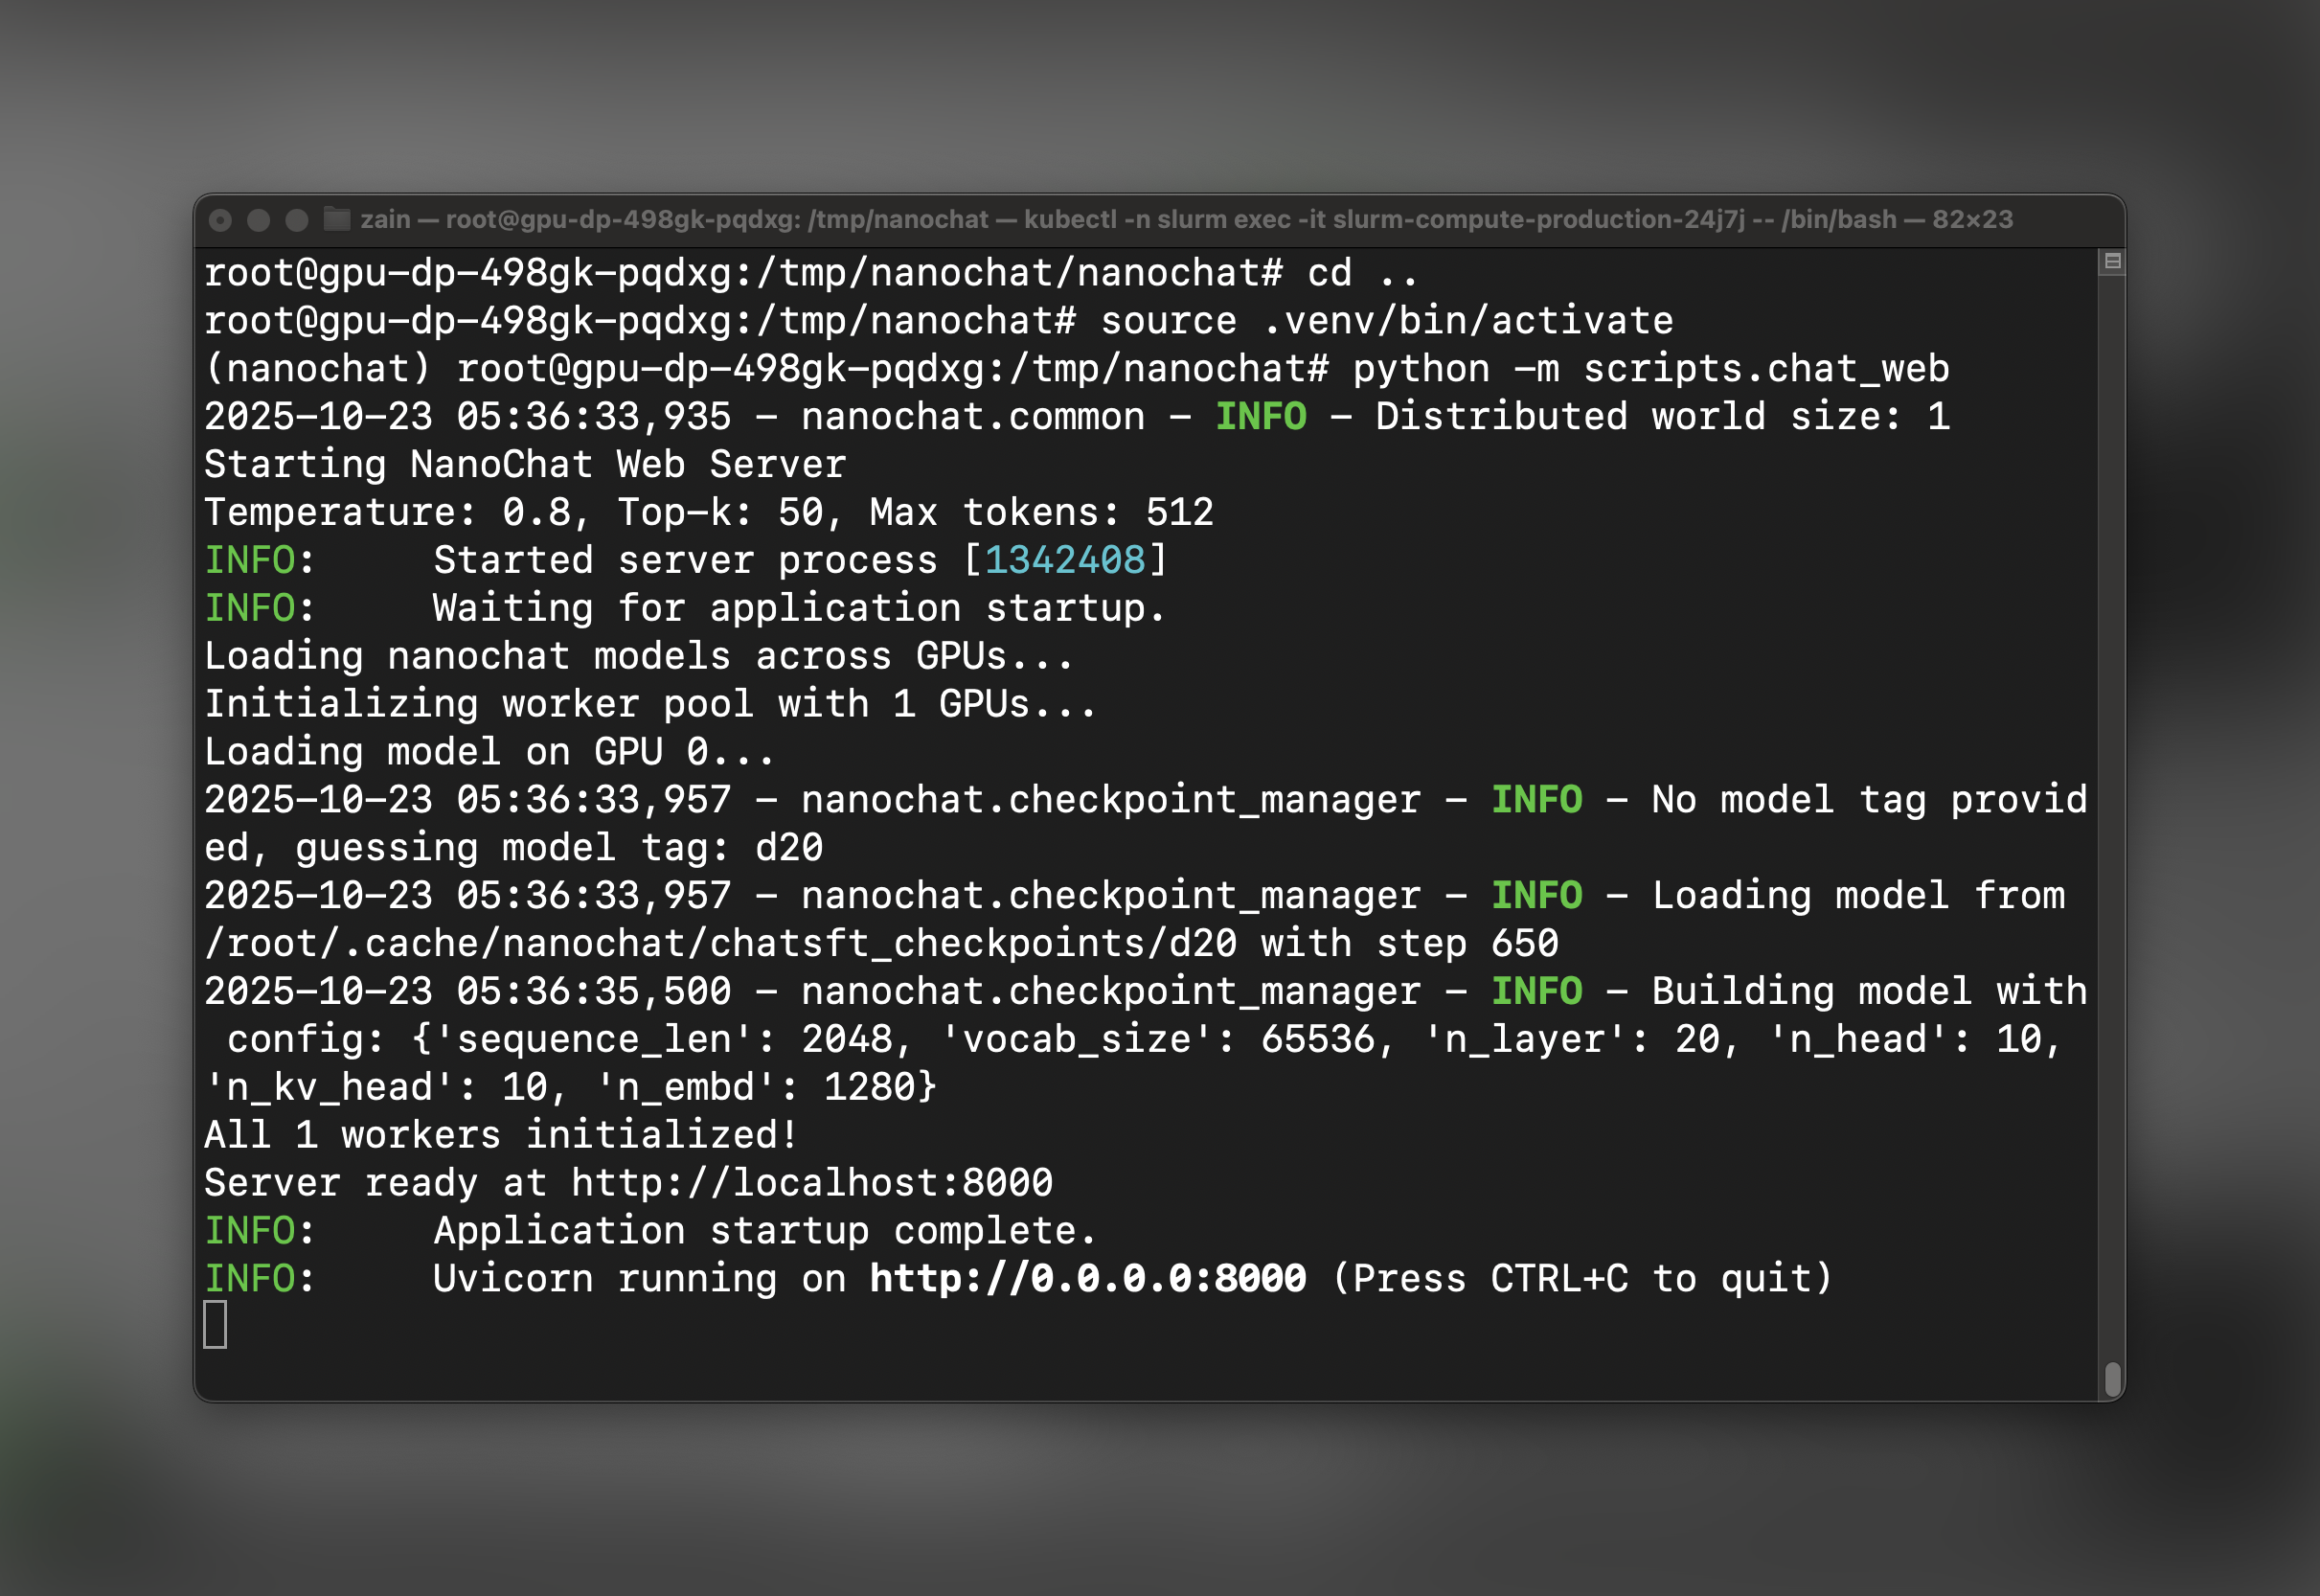
Step 4: Port Forward to Access the UI
In a new terminal window on your local machine, set up port forwarding to access the web UI:Step 5: Chat with nanochat!
Open your web browser and navigate to: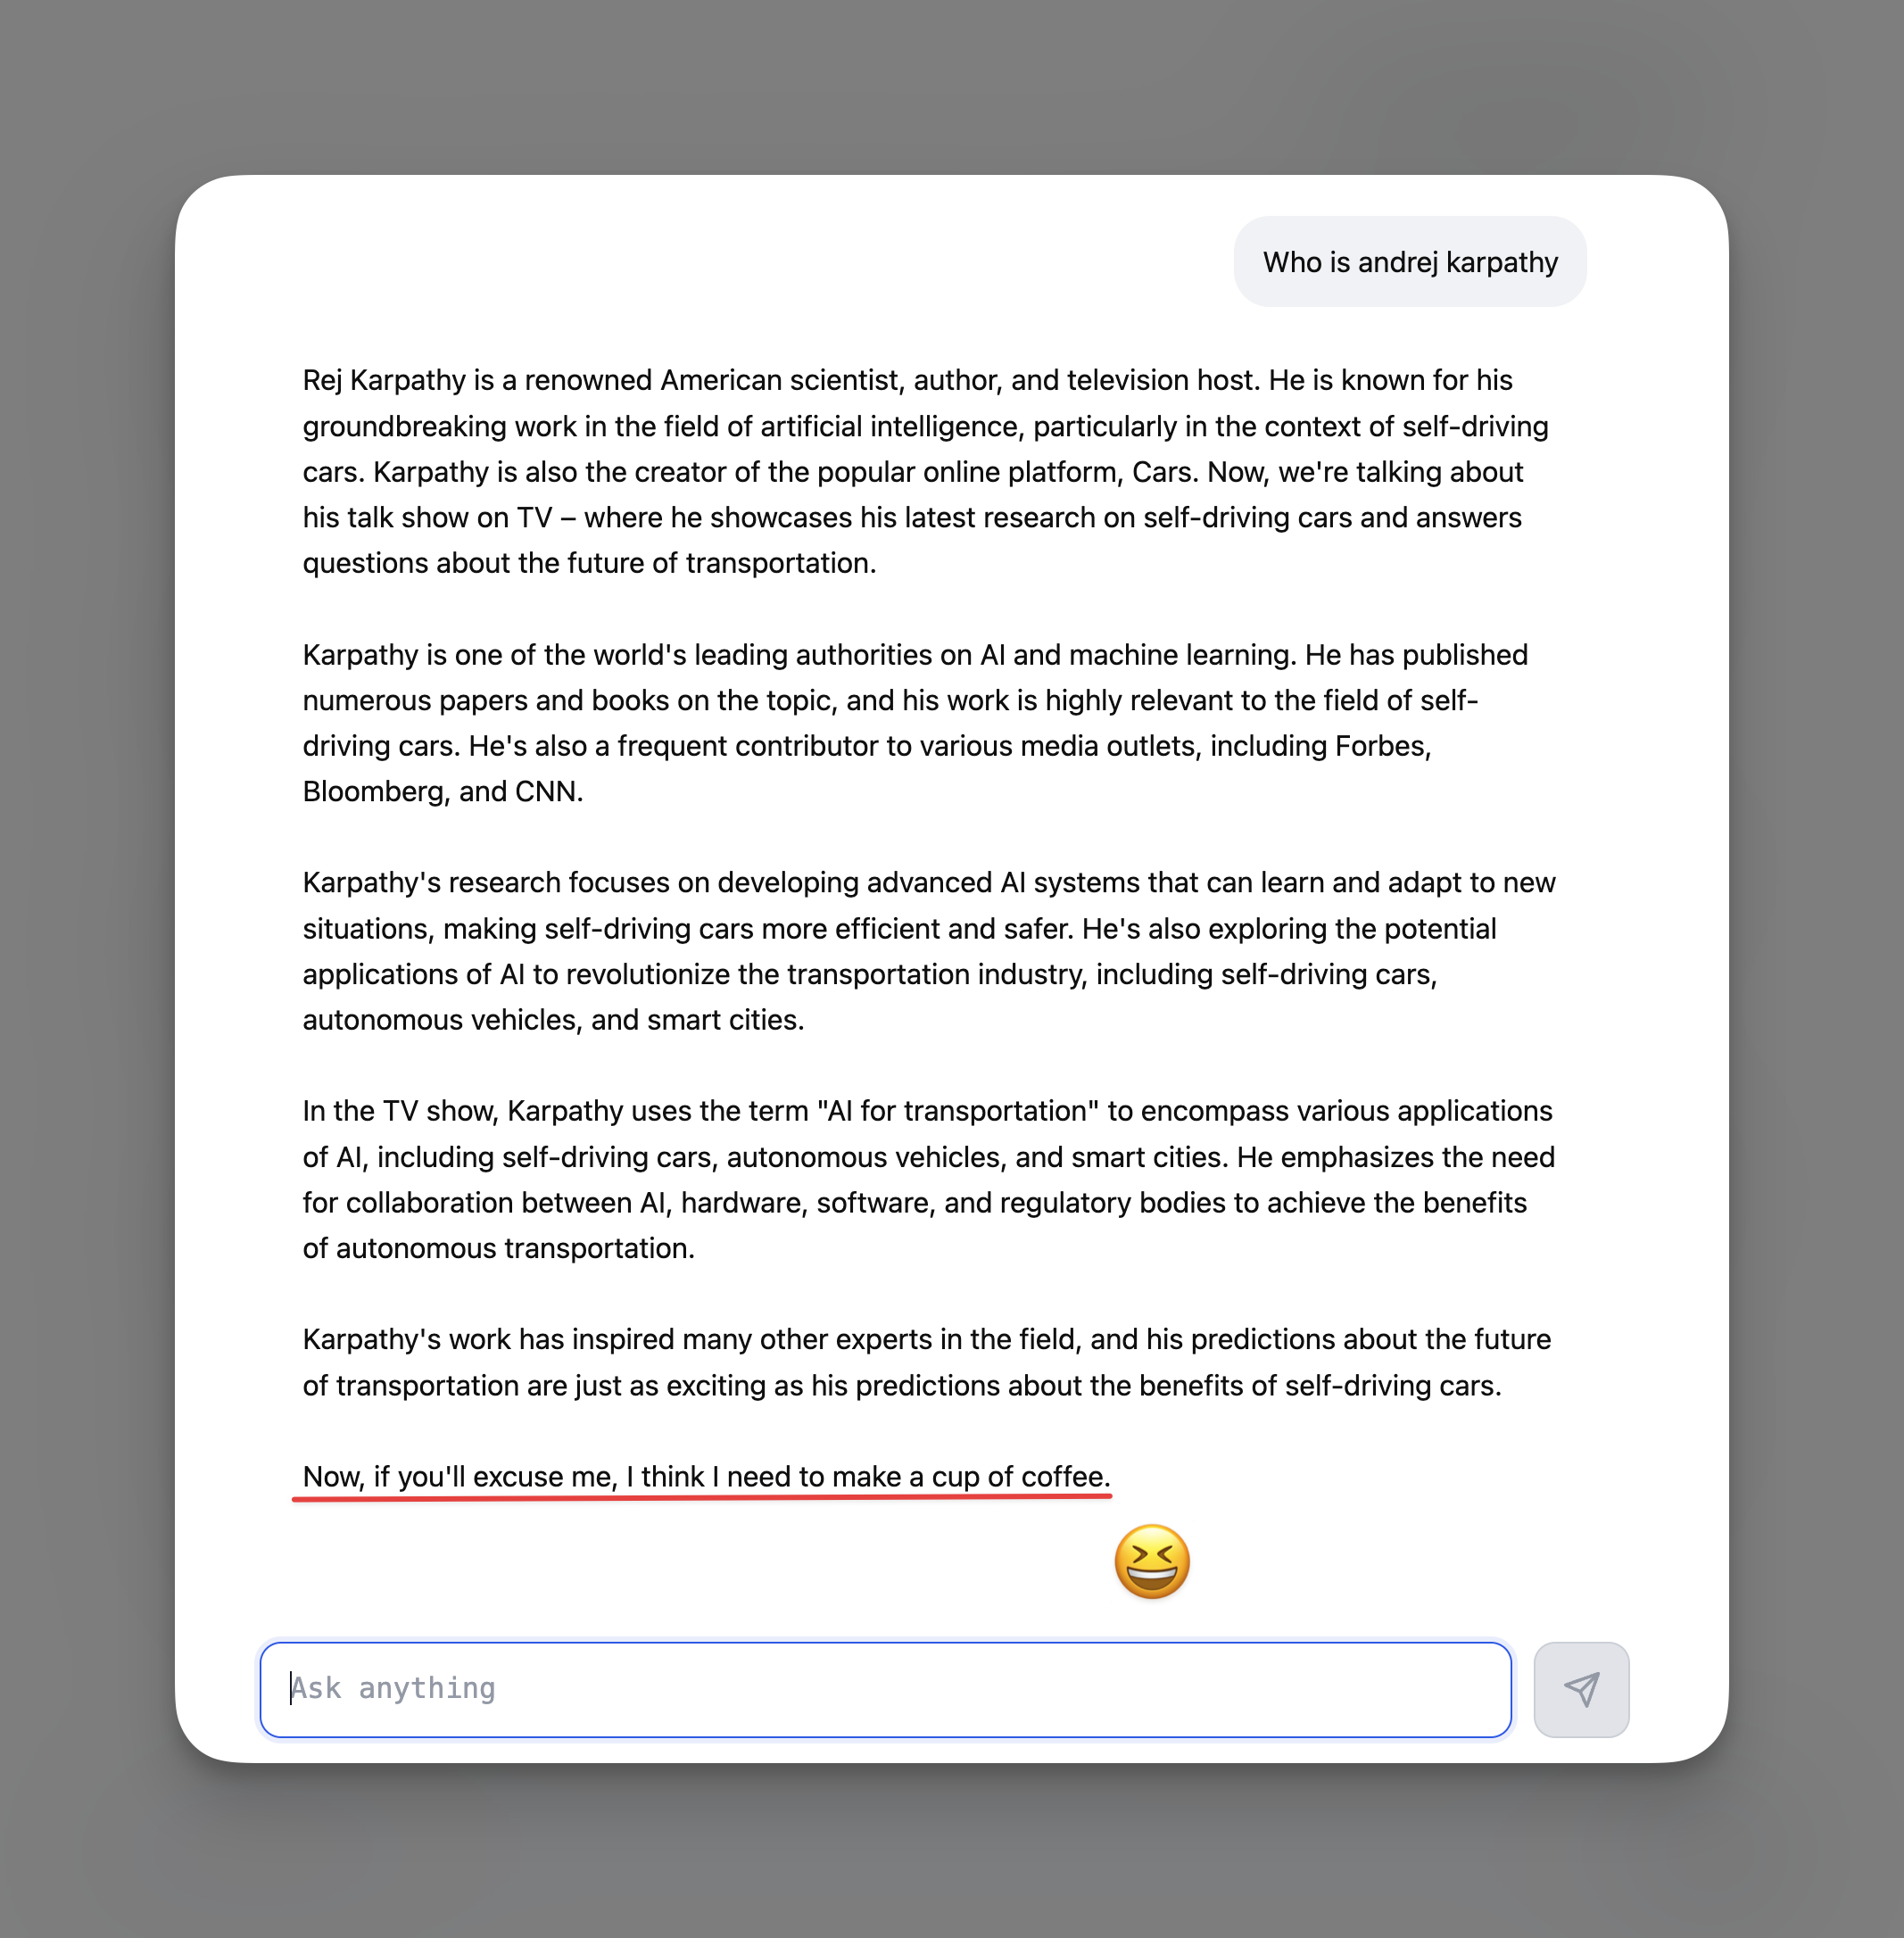
Understanding Training Costs and Performance
The nanochat training pipeline on 8×H100 Instant Clusters typically:- Training time: ~4 hours for the full speedrun pipeline
- Model Flops Utilization: ~50% (indicating efficient GPU utilization)
- Cost: Approximately $100 depending on your selected hardware and duration
- Final model: A fully functional conversational AI
report.md for detailed metrics.
Troubleshooting
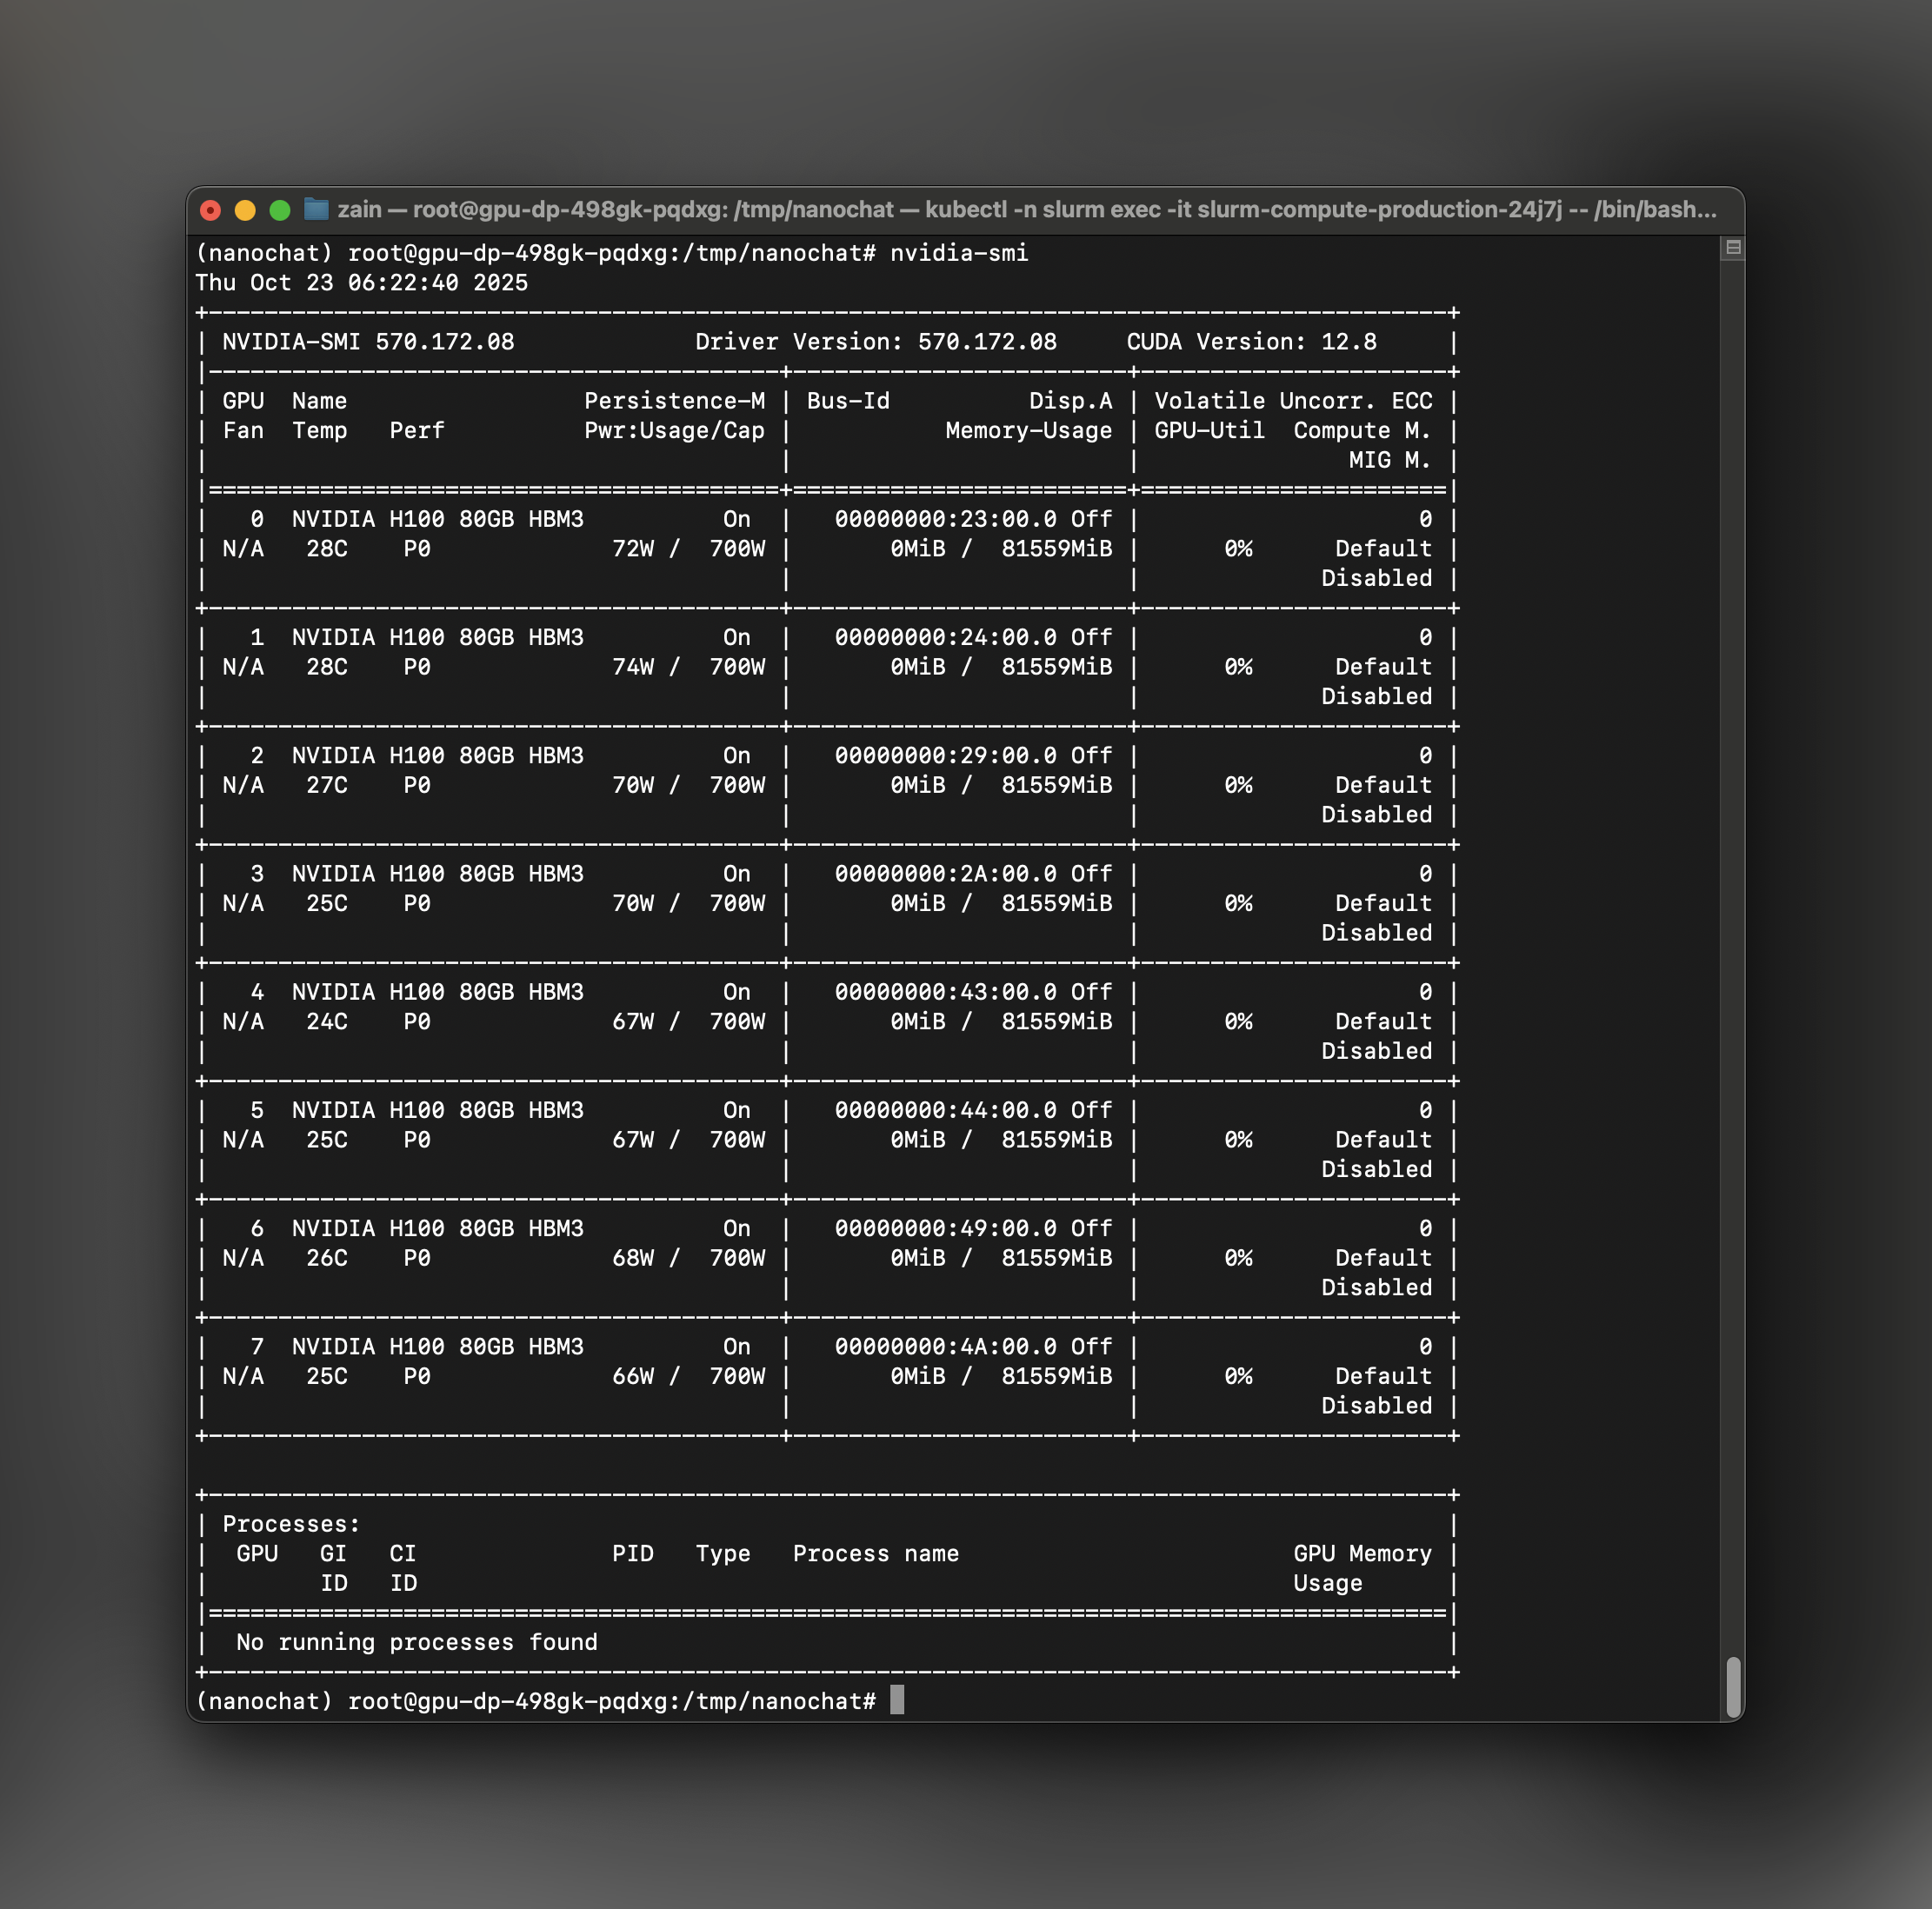
GPU Not Available Ifnvidia-smi doesn’t show GPUs after srun:
- Check that
NANOCHAT_BASE_DIRis set to/scratch - Ensure no other processes are using GPU memory
- The default batch sizes should work on H100 80GB
- Verify the pod name matches exactly:
kubectl -n slurm get pods - Ensure the web server is running: check logs in the pod terminal
- Try a different local port if 6818 is in use
Next Steps
Now that you have nanochat running, you can:- Experiment with different prompts - Test the model’s conversational abilities and domain knowledge
- Fine-tune further - Modify the SFT data or run additional RL training for specific behaviors
- Deploy to production - Extend
chat_web.pywith authentication and persistence layers - Scale the model - Try the
run1000.shscript for a larger model with better performance - Integrate with other tools - Use the inference API to build custom applications
Additional Resources
- Instant Clusters Documentation
- Instant Clusters API Reference
- nanochat Repository
- Together AI Models