How to build an Interactive AI Tutor with Llama 3.1

Learn we built LlamaTutor from scratch โ€“ an open source AI tutor with 90k users.

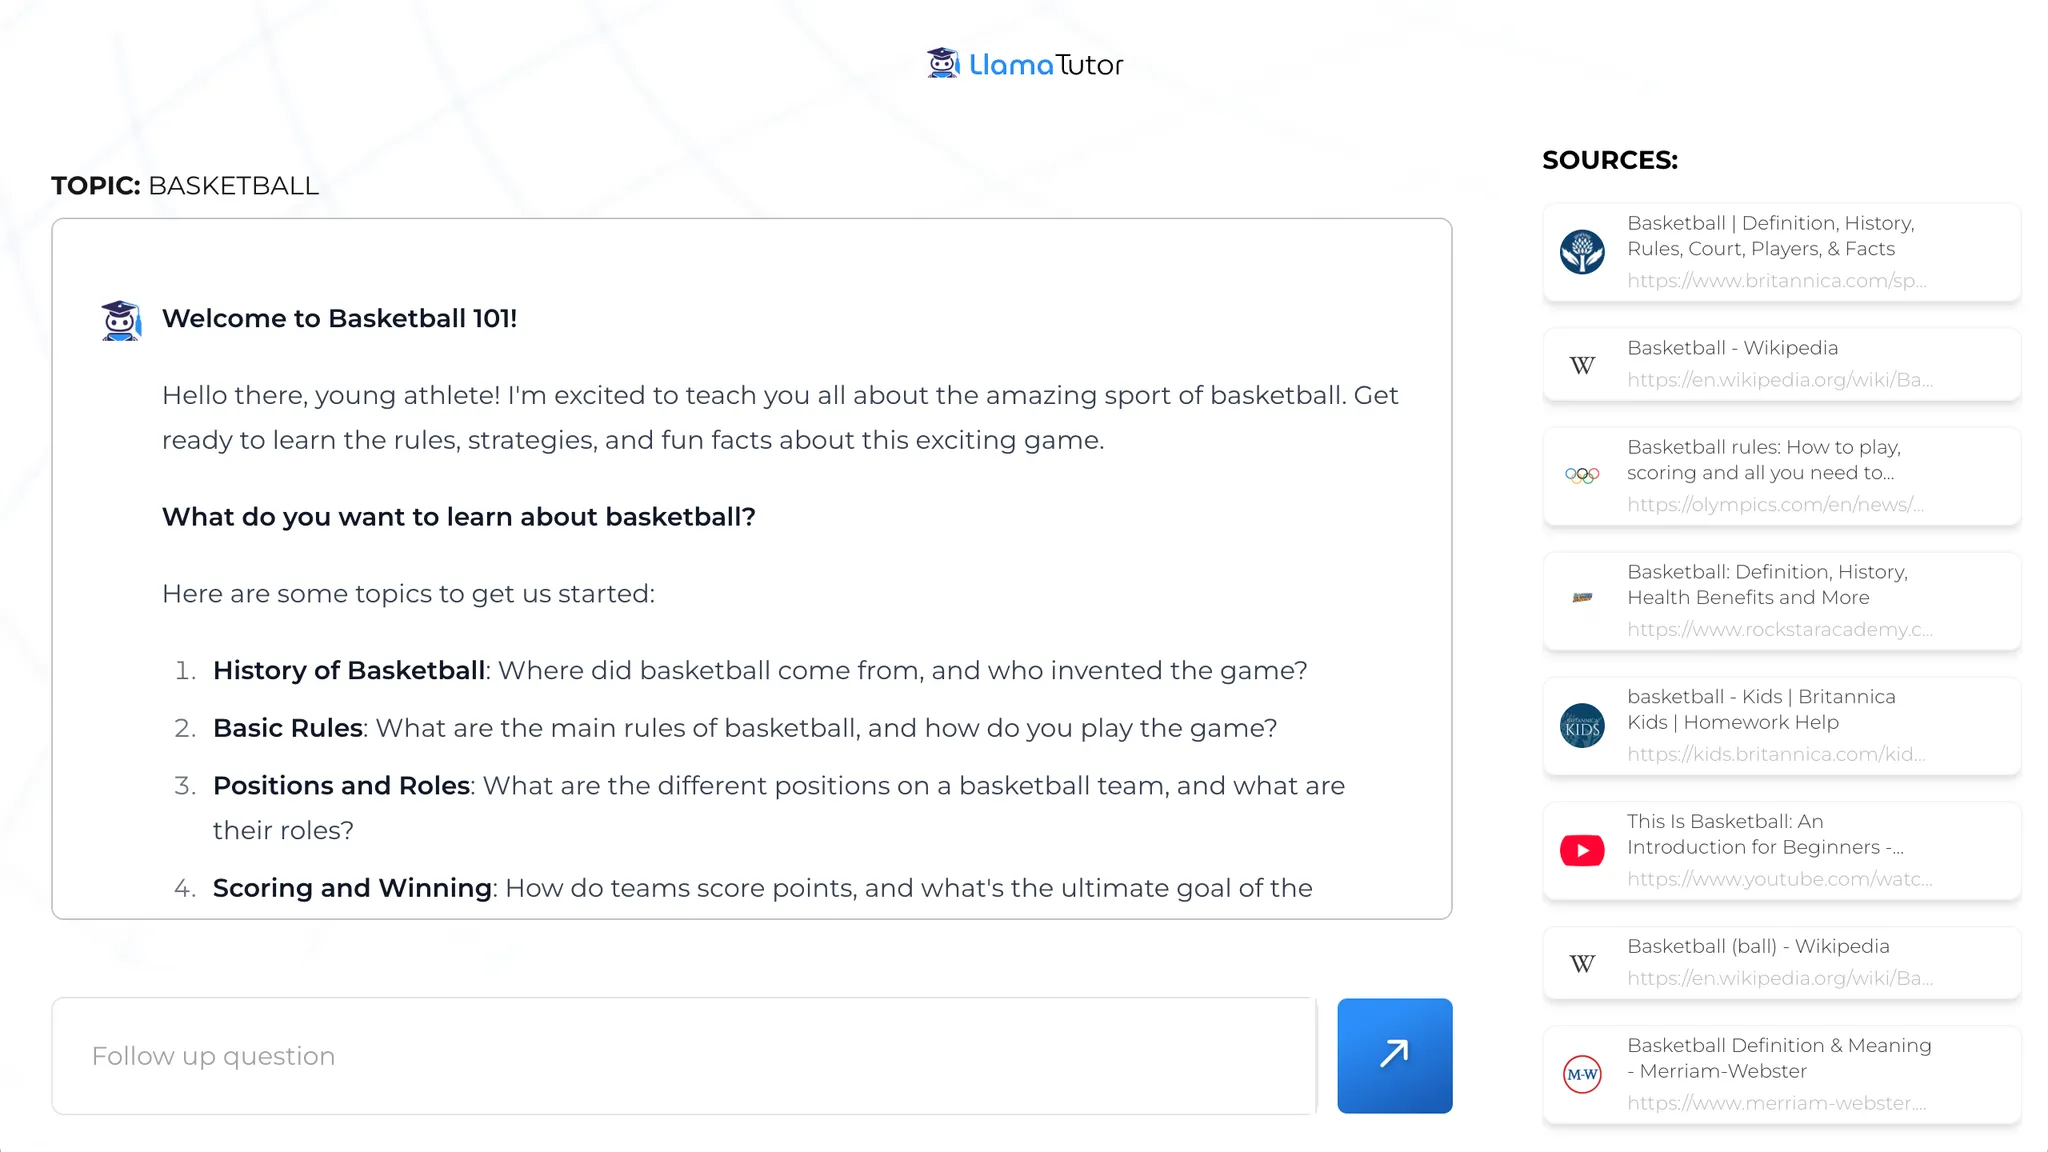
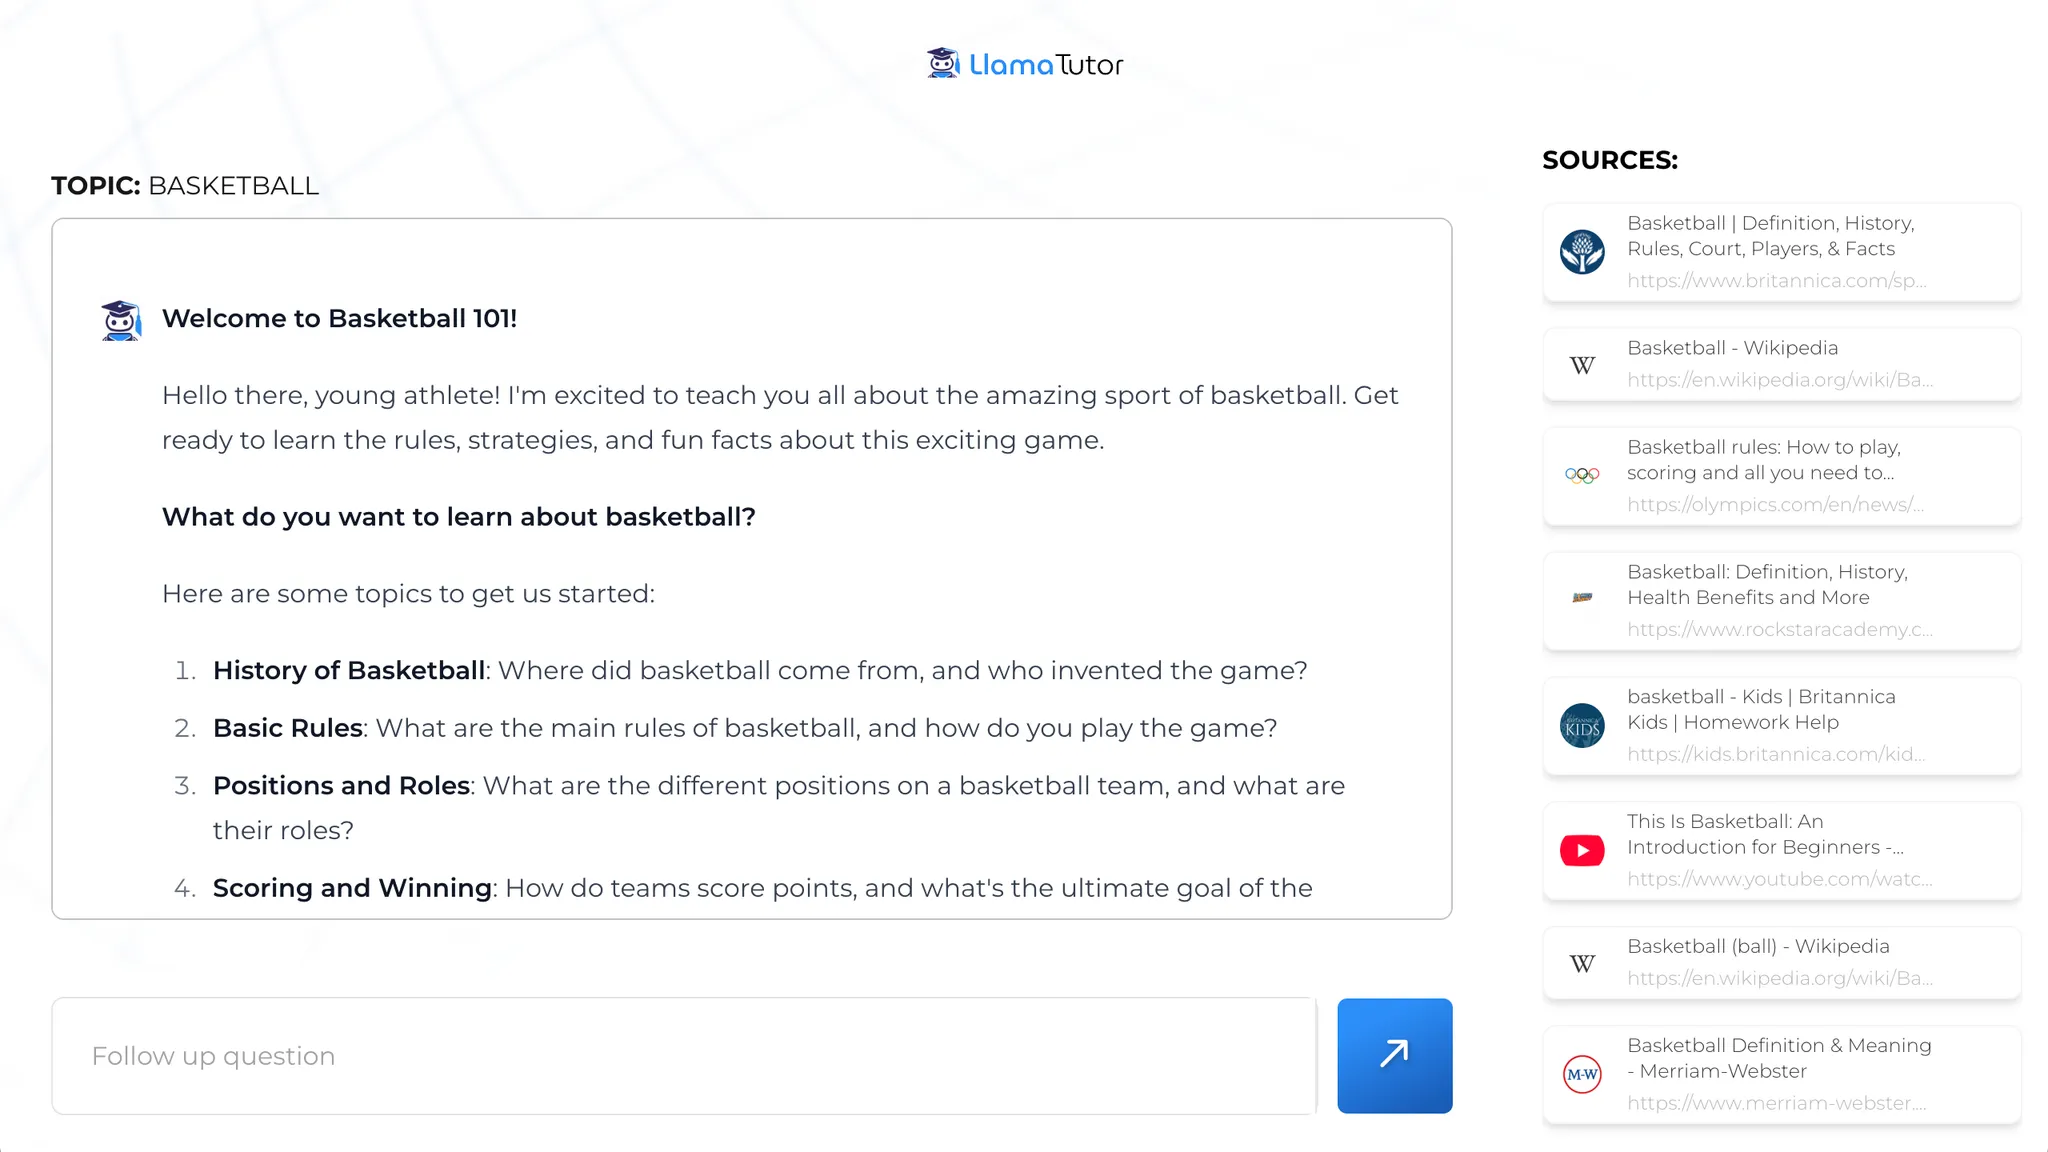
LlamaTutor is an app that creates an interactive tutoring session for a given topic using Together AIโ€™s open-source LLMs.

It pulls multiple sources from the web with either Bingโ€™s API or Serper's API, then uses the text from the sources to kick off an interactive tutoring session with the user.

In this post, youโ€™ll learn how to build the core parts of LlamaTutor. The app is open-source and built with Next.js and Tailwind, but Togetherโ€™s API work great with any language or framework.

Building the input prompt and education dropdown

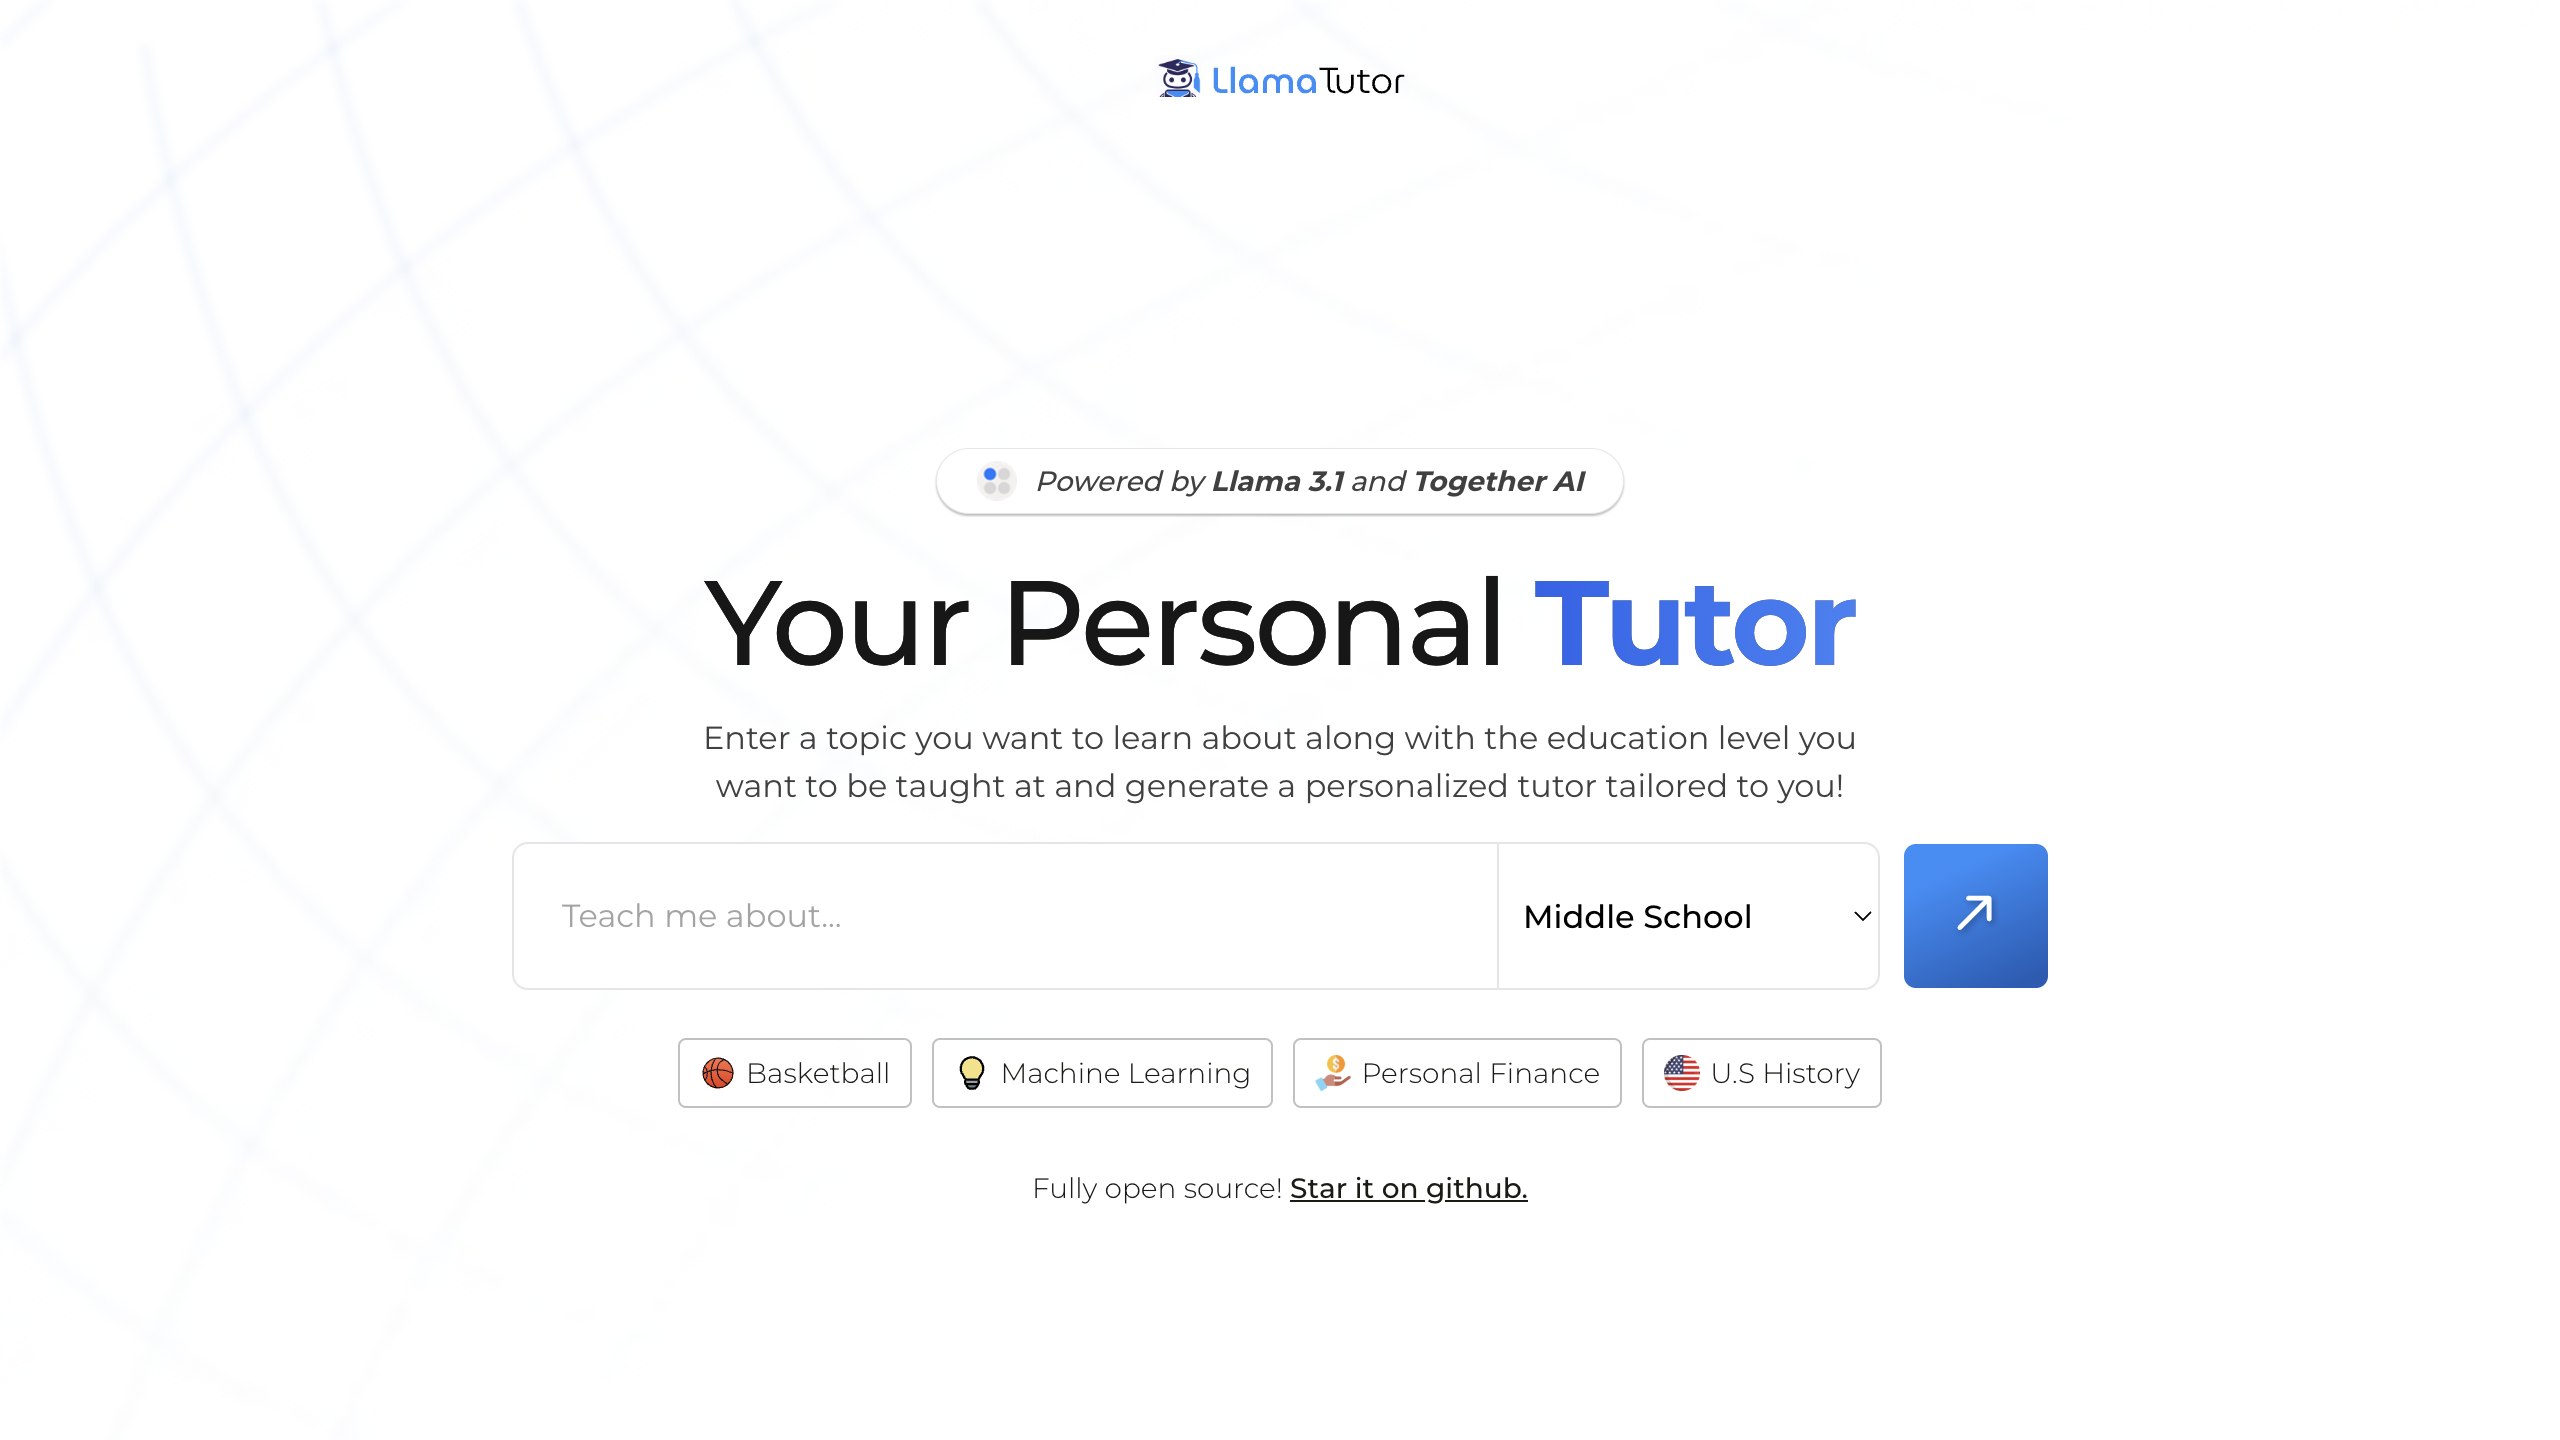
LlamaTutorโ€™s core interaction is a text field where the user can enter a topic, and a dropdown that lets the user choose which education level the material should be taught at:
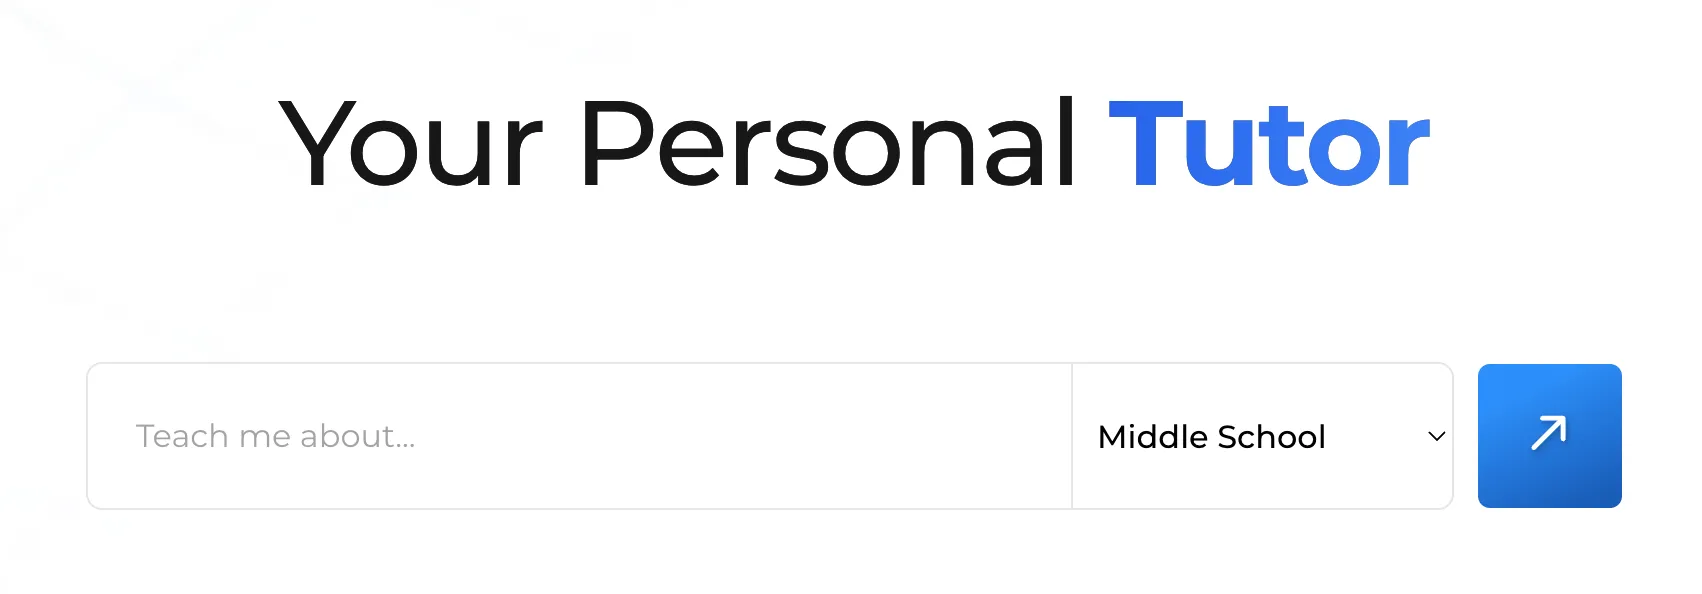
In the main page component, weโ€™ll render an <input> and <select>, and control both using some new React state:

// app/page.tsx
function Page() {
  const [topic, setTopic] = useState('');
  const [grade, setGrade] = useState('');

  return (
    <form>
      <input
        value={topic}
        onChange={(e) => setTopic(e.target.value)}
        placeholder="Teach me about..."
      />
      <select value={grade} onChange={(e) => setGrade(e.target.value)}>
        <option>Elementary School</option>
        <option>Middle School</option>
        <option>High School</option>
        <option>College</option>
        <option>Undergrad</option>
        <option>Graduate</option>
      </select>
    </form>
  );
}

When the user submits our form, our submit handler ultimately needs to do three things:

  1. Use the Bing API to fetch six different websites related to the topic
  2. Parse the text from each website
  3. Pass all the parsed text, as well as the education level, to Together AI to kick off the tutoring session

Letโ€™s start by fetching the websites with Bing. Weโ€™ll wire up a submit handler to our form that makes a POST request to a new /getSources endpoint:

// app/page.tsx
function Page() {
  const [topic, setTopic] = useState('');
  const [grade, setGrade] = useState('');

  async function handleSubmit(e) {
    e.preventDefault();

    let response = await fetch('/api/getSources', {
      method: 'POST',
      body: JSON.stringify({ topic }),
    });

    let sources = await response.json();

    // This fetch() will 404 for now
  }

  return (
    <form onSubmit={handleSubmit}>
      <input
        value={topic}
        onChange={(e) => setTopic(e.target.value)}
        placeholder="Teach me about..."
      />
      <select value={grade} onChange={(e) => setGrade(e.target.value)}>
        <option>Elementary School</option>
        <option>Middle School</option>
        <option>High School</option>
        <option>College</option>
        <option>Undergrad</option>
        <option>Graduate</option>
      </select>
    </form>
  );
}

If we submit the form, we see our React app makes a request to /getSources :

Letโ€™s go implement this API route.

Getting web sources with Bing

To create our API route, weโ€™ll make a newย app/api/getSources/route.jsย file:

// app/api/getSources/route.js
export async function POST(req) {
  let json = await req.json();

  // `json.topic` has the user's text
}

The Bing API lets you make a fetch request to get back search results, so weโ€™ll use it to build up our list of sources:

// app/api/getSources/route.js
import { NextResponse } from 'next/server';

export async function POST(req) {
  const json = await req.json();

  const params = new URLSearchParams({
    q: json.topic,
    mkt: 'en-US',
    count: '6',
    safeSearch: 'Strict',
  });

  const response = await fetch(
    `https://api.bing.microsoft.com/v7.0/search?${params}`,
    {
      method: 'GET',
      headers: {
        'Ocp-Apim-Subscription-Key': process.env['BING_API_KEY'],
      },
    }
  );
  const { webPages } = await response.json();

  return NextResponse.json(
    webPages.value.map((result) => ({
      name: result.name,
      url: result.url,
    }))
  );
}

In order to make a request to Bingโ€™s API, youโ€™ll need to get an API key from Microsoft. Once you have it, set it in .env.local:

// .env.local
BING_API_KEY=xxxxxxxxxxxx

and our API handler should work.

Letโ€™s try it out from our React app! Weโ€™ll log the sources in our submit handler:

// app/page.tsx
function Page() {
  const [topic, setTopic] = useState('');
  const [grade, setGrade] = useState('');

  async function handleSubmit(e) {
    e.preventDefault();

    const response = await fetch('/api/getSources', {
      method: 'POST',
      body: JSON.stringify({ topic }),
    });

    const sources = await response.json();

    // log the response from our new endpoint
    console.log(sources);
  }

  return (
    <form onSubmit={handleSubmit}>
      <input
        value={topic}
        onChange={(e) => setTopic(e.target.value)}
        placeholder="Teach me about..."
      />
      <select value={grade} onChange={(e) => setGrade(e.target.value)}>
        <option>Elementary School</option>
        <option>Middle School</option>
        <option>High School</option>
        <option>College</option>
        <option>Undergrad</option>
        <option>Graduate</option>
      </select>
    </form>
  );
}

and if we try submitting a topic, weโ€™ll see an array of pages logged in the console!

Letโ€™s create some new React state to store the responses and display them in our UI:

// app/page.tsx
function Page() {
  const [topic, setTopic] = useState('');
  const [grade, setGrade] = useState('');
  const [sources, setSources] = useState([]);

  async function handleSubmit(e) {
    e.preventDefault();

    const response = await fetch('/api/getSources', {
      method: 'POST',
      body: JSON.stringify({ topic }),
    });

    const sources = await response.json();

    // Update the sources with our API response
    setSources(sources);
  }

  return (
    <>
      <form onSubmit={handleSubmit}>{/* ... */}</form>

      {/* Display the sources */}
      {sources.length > 0 && (
        <div>
          <p>Sources</p>
          <ul>
            {sources.map((source) => (
              <li key={source.url}>
                <a href={source.url}>{source.name}</a>
              </li>
            ))}
          </ul>
        </div>
      )}
    </>
  );
}

If we try it out, our app is working great so far!

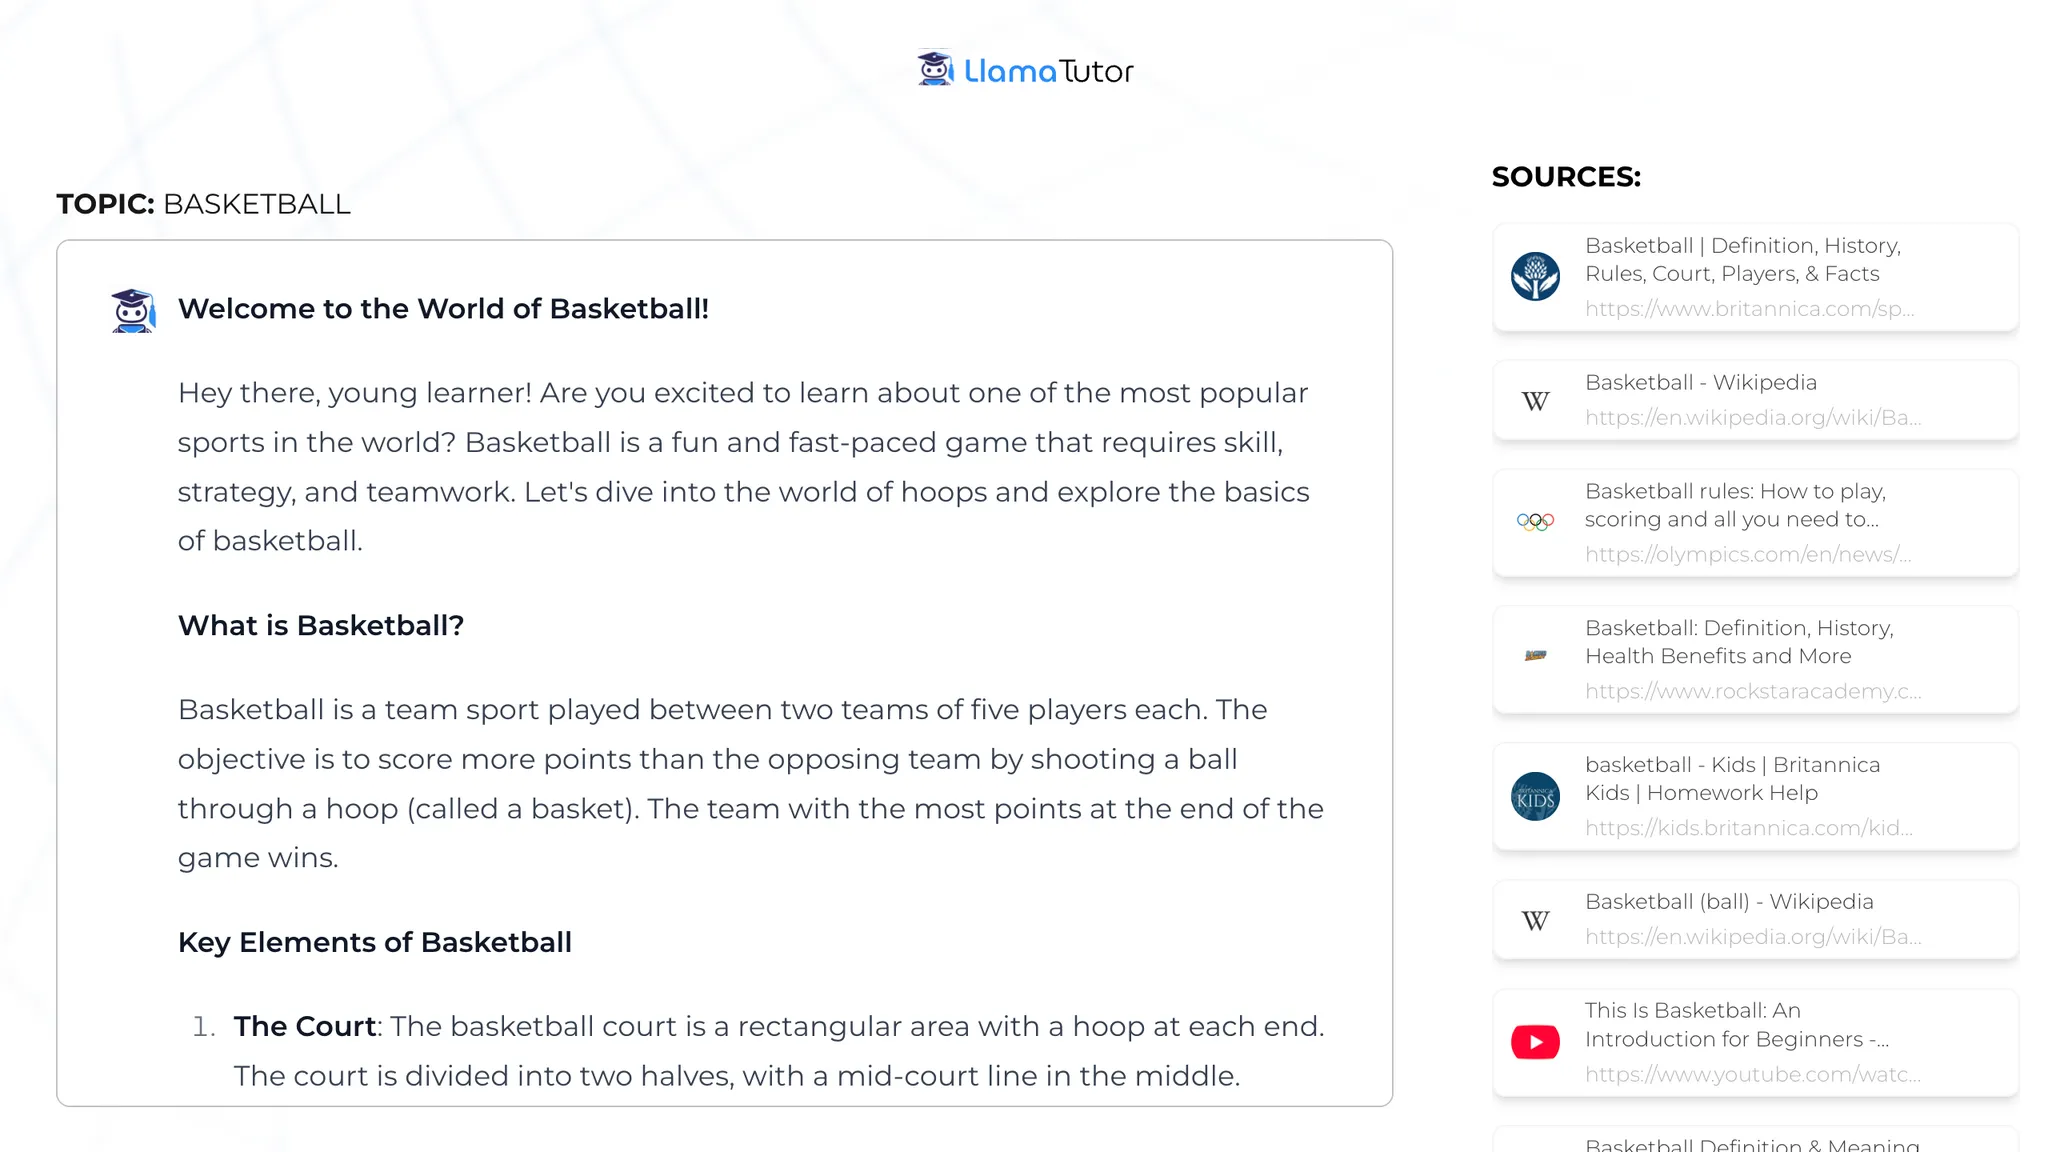
Weโ€™re taking the userโ€™s topic, fetching six relevant web sources from Bing, and displaying them in our UI.

Next, letโ€™s get the text content from each website so that our AI model has some context for its first response.

Fetching the content from each source

Letโ€™s make a request to a second endpoint called /api/getParsedSources, passing along the sources in the request body:

// app/page.tsx
function Page() {
  // ...

  async function handleSubmit(e) {
    e.preventDefault();

    const response = await fetch('/api/getSources', {
      method: 'POST',
      body: JSON.stringify({ question }),
    });

    const sources = await response.json();
    setSources(sources);

    // Send the sources to a new endpoint
    const parsedSourcesRes = await fetch('/api/getParsedSources', {
      method: 'POST',
      headers: { 'Content-Type': 'application/json' },
      body: JSON.stringify({ sources }),
    });

    // The second fetch() will 404 for now
  }

  // ...
}

Weโ€™ll create a file atย app/api/getParsedSources/route.js for our new route:

// app/api/getParsedSources/route.js
export async function POST(req) {
  let json = await req.json();

  // `json.sources` has the websites from Bing
}

Now weโ€™re ready to actually get the text from each one of our sources.

Letโ€™s write a new getTextFromURL function and outline our general approach:

async function getTextFromURL(url) {
  // 1. Use fetch() to get the HTML content
  // 2. Use the `jsdom` library to parse the HTML into a JavaScript object
  // 3. Use `@mozilla/readability` to clean the document and
  //    return only the main text of the page
}

Letโ€™s implement this new function. Weโ€™ll start by installing the jsdom and @mozilla/readability libraries:

npm i jsdom @mozilla/readability

Next, letโ€™s implement the steps:

async function getTextFromURL(url) {
  // 1. Use fetch() to get the HTML content
  const response = await fetch(url);
  const html = await response.text();

  // 2. Use the `jsdom` library to parse the HTML into a JavaScript object
  const virtualConsole = new jsdom.VirtualConsole();
  const dom = new JSDOM(html, { virtualConsole });

  // 3. Use `@mozilla/readability` to clean the document and
  //    return only the main text of the page
  const { textContent } = new Readability(doc).parse();
}

Looks good - letโ€™s try it out!

Weโ€™ll run the first source through getTextFromURL:

// app/api/getParsedSources/route.js
export async function POST(req) {
  let json = await req.json();

  let textContent = await getTextFromURL(json.sources[0].url);

  console.log(textContent);
}

If we submit our form , weโ€™ll see the text show up in our server terminal from the first page!

Letโ€™s update the code toย get the text from all the sources.

Since each source is independent, we can use Promise.all to kick off our functions in parallel:

// app/api/getAnswer/route.js
export async function POST(req) {
  let json = await req.json();

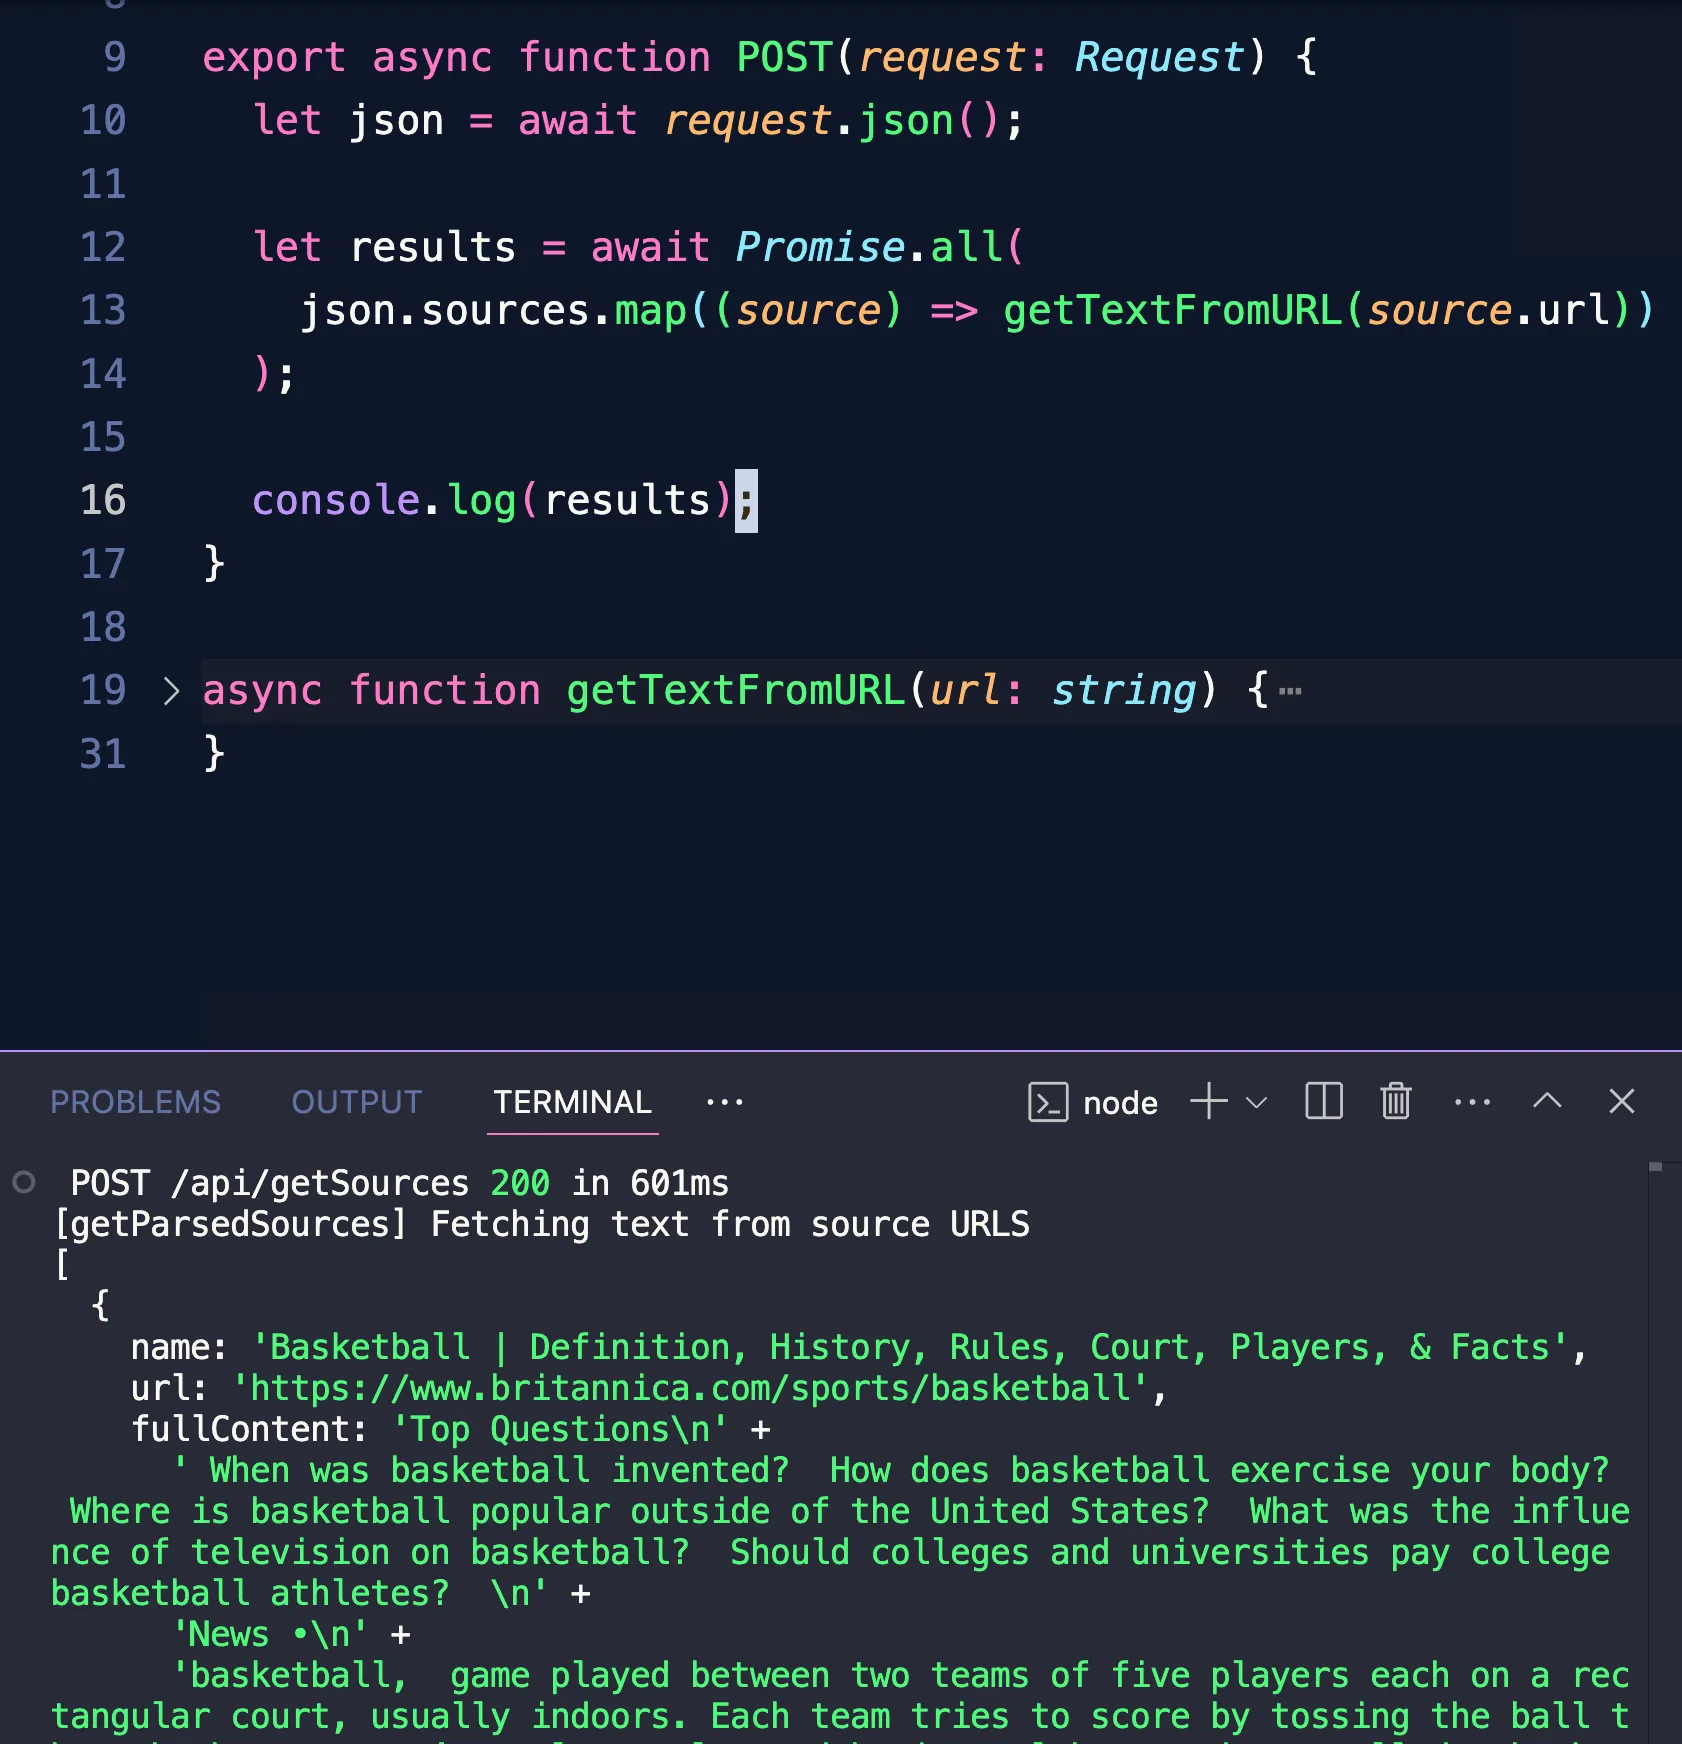
  let results = await Promise.all(
    json.sources.map((source) => getTextFromURL(source.url))
  );

  console.log(results);
}

If we try again, weโ€™ll now see an array of each web pageโ€™s text logged to the console:

Weโ€™re ready to use the parsed sources in our React frontend!

Using the sources for the chatbotโ€™s initial messages

Back in our React app, we now have the text from each source in our submit handler:

// app/page.tsx
function Page() {
  // ...

  async function handleSubmit(e) {
    e.preventDefault();

    const response = await fetch('/api/getSources', {
      method: 'POST',
      body: JSON.stringify({ question }),
    });

    const sources = await response.json();
    setSources(sources);

    const parsedSourcesRes = await fetch('/api/getParsedSources', {
      method: 'POST',
      headers: { 'Content-Type': 'application/json' },
      body: JSON.stringify({ sources }),
    });

    // The text from each source
    const parsedSources = await parsedSourcesRes.json();
  }

  // ...
}

Weโ€™re ready to kick off our chatbot. Weโ€™ll use the selected grade level and the parsed sources to write a system prompt, and pass in the selected topic as the userโ€™s first message:

// app/page.tsx
function Page() {
  const [messages, setMessages] = useState([]);
  // ...

  async function handleSubmit(e) {
    // ...

    // The text from each source
    const parsedSources = await parsedSourcesRes.json();

    // Start our chatbot
    const systemPrompt = `
      You're an interactive personal tutor who is an expert at explaining topics. Given a topic and the information to teach, please educate the user about it at a ${grade} level.

      Here's the information to teach:

      <teaching_info>
      ${parsedSources.map(
        (result, index) =>
          `## Webpage #${index}:\\n ${result.fullContent} \\n\\n`
      )}
      </teaching_info>
    `;

    const initialMessages = [
      { role: 'system', content: systemPrompt },
      { role: 'user', content: topic },
    ];
    setMessages(initialMessages);

    // This will 404 for now
    const chatRes = await fetch('/api/chat', {
      method: 'POST',
      headers: { 'Content-Type': 'application/json' },
      body: JSON.stringify({ messages: initialMessages }),
    });
  }

  // ...
}

We also created some new React state to store all the messages so that we can display and update the chat history as the user sends new messages.

Weโ€™re ready to implement our final API endpoint at /chat!

Implementing the chatbot endpoint with Together AIโ€™s SDK

Letโ€™s install Together AIโ€™s node SDK:

npm i together-ai

and use it to query Llama 3.1 8B Turbo:

// api/chat/route.js
import { Together } from 'togetherai';

const together = new Together();

export async function POST(req) {
  const json = await req.json();

  const res = await together.chat.completions.create({
    model: 'meta-llama/Meta-Llama-3.1-8B-Instruct-Turbo',
    messages: json.messages,
    stream: true,
  });

  return new Response(res.toReadableStream());
}

Since weโ€™re passing the array of messages directly from our React app, and the format is the same as what Togetherโ€™s chat.completions.create method expects, our API handler is mostly acting as a simple passthrough.

Weโ€™re also using the stream: true option so our frontend will be able to show partial updates as soon as the LLM starts its response.

Weโ€™re read to display our chatbotโ€™s first message in our React app!

Displaying the chatbotโ€™s response in the UI

Back in our page, weโ€™ll use the ChatCompletionStream helper from Togetherโ€™s SDK to update our messages state as our API endpoint streams in text:

// app/page.tsx
function Page() {
  const [messages, setMessages] = useState([]);
  // ...

  async function handleSubmit(e) {
    // ...

    const chatRes = await fetch('/api/chat', {
      method: 'POST',
      headers: { 'Content-Type': 'application/json' },
      body: JSON.stringify({ messages: initialMessages }),
    });

    ChatCompletionStream.fromReadableStream(chatRes.body).on(
      'content',
      (delta) => {
        setMessages((prev) => {
          const lastMessage = prev[prev.length - 1];

          if (lastMessage.role === 'assistant') {
            return [
              ...prev.slice(0, -1),
              { ...lastMessage, content: lastMessage.content + delta },
            ];
          } else {
            return [...prev, { role: 'assistant', content: delta }];
          }
        });
      }
    );
  }

  // ...
}

Note that because weโ€™re storing the entire history of messages as an array, we check the last messageโ€™s role to determine whether to append the streamed text to it, or push a new object with the assistantโ€™s initial text.

Now that our messages React state is ready, letโ€™s update our UI to display it:

// app/page.tsx
function Page() {
  const [topic, setTopic] = useState('');
  const [grade, setGrade] = useState('');
  const [sources, setSources] = useState([]);
  const [messages, setMessages] = useState([]);

  async function handleSubmit(e) {
    // ...
  }

  return (
    <>
      <form onSubmit={handleSubmit}>{/* ... */}</form>

      {/* Display the sources */}
      {sources.length > 0 && (
        <div>
          <p>Sources</p>
          <ul>
            {sources.map((source) => (
              <li key={source.url}>
                <a href={source.url}>{source.name}</a>
              </li>
            ))}
          </ul>
        </div>
      )}

      {/* Display the messages */}
      {messages.map((message, i) => (
        <p key={i}>{message.content}</p>
      ))}
    </>
  );
}

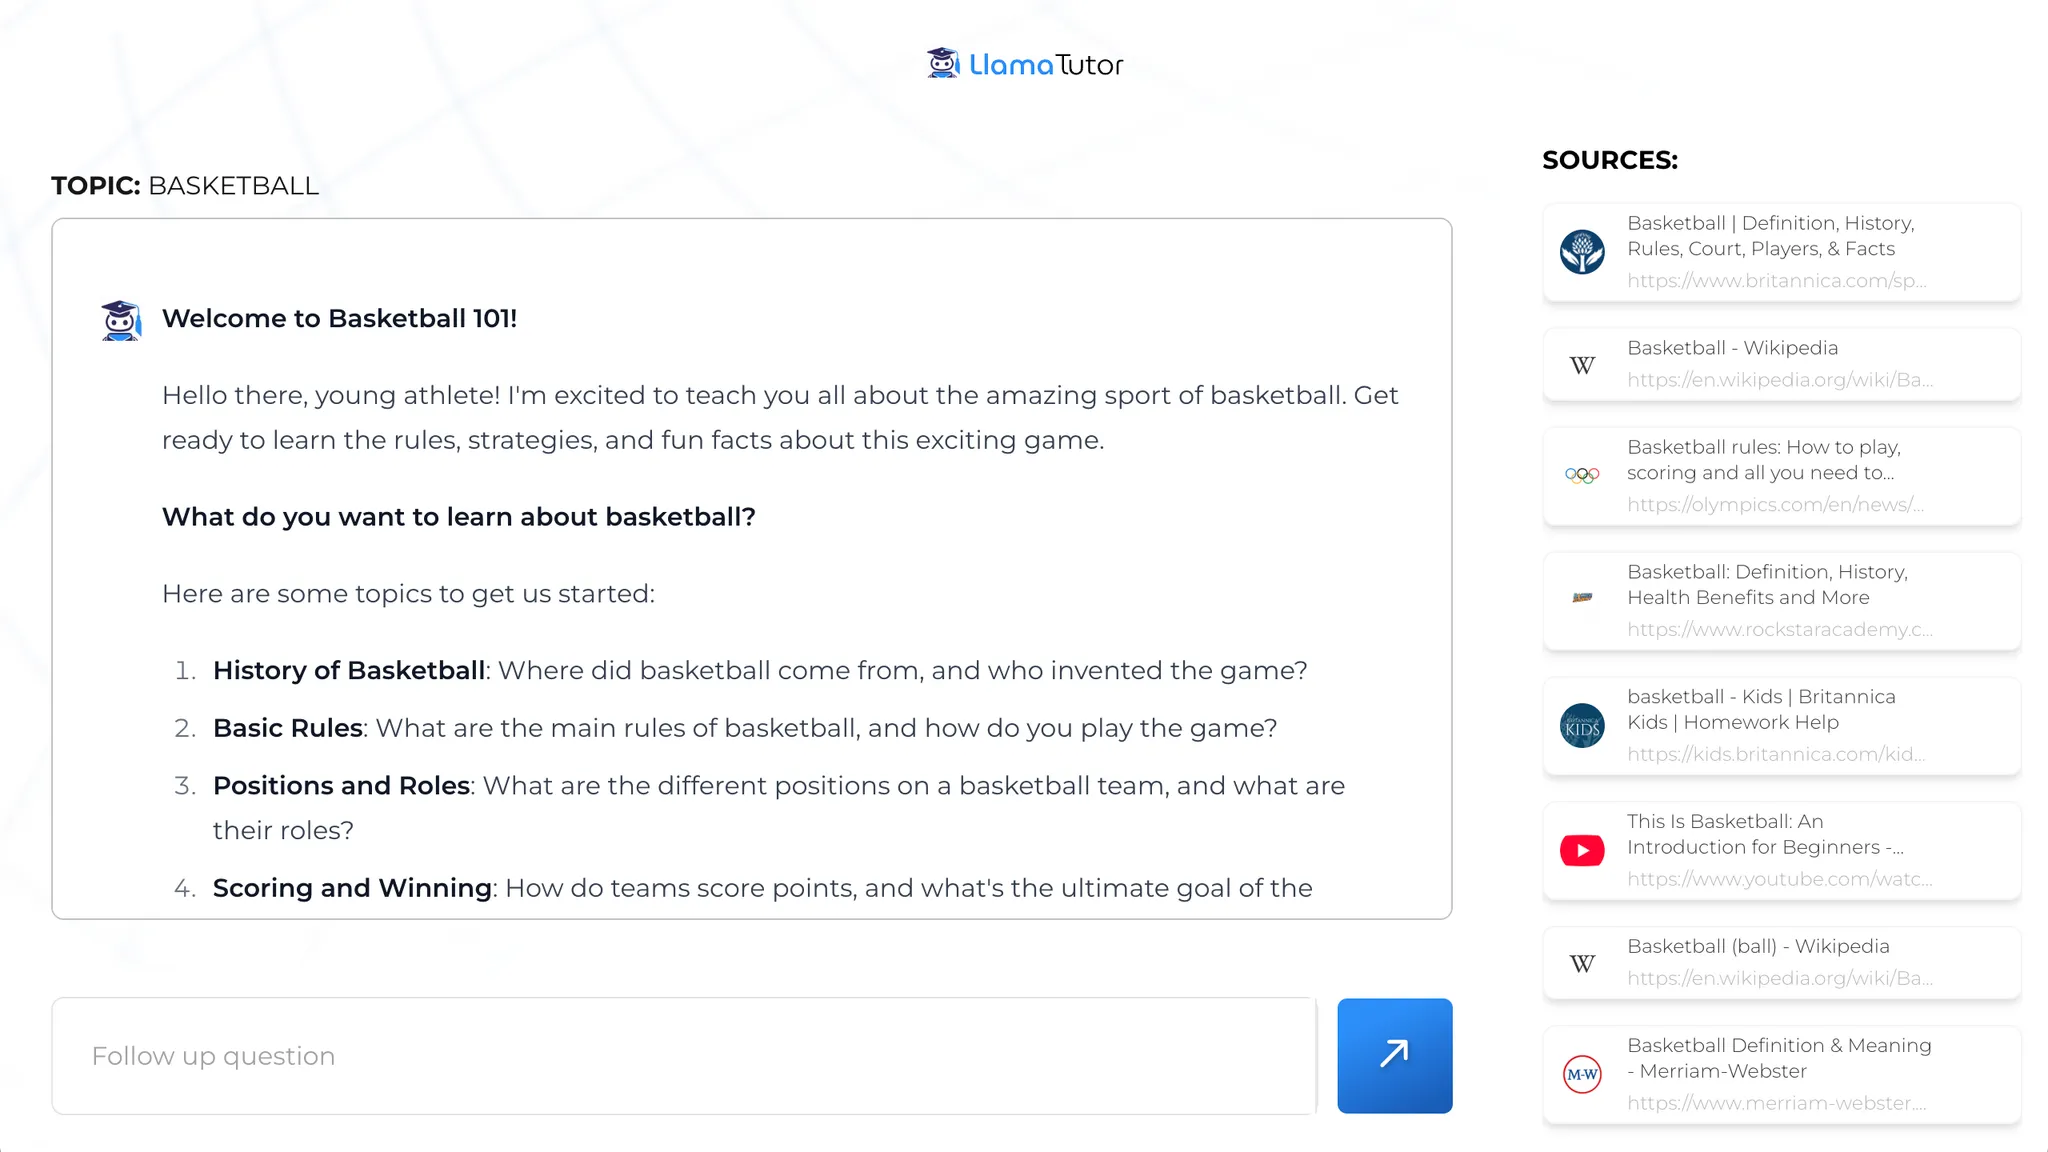
If we try it out, weโ€™ll see the sources come in, and once our chat endpoint responds with the first chunk, weโ€™ll see the answer text start streaming into our UI!
Letting the user ask follow-up questions

To let the user ask our tutor follow-up questions, letโ€™s make a new form that only shows up once we have some messages in our React state:

// app/page.tsx
function Page() {
  // ...
  const [newMessageText, setNewMessageText] = useState('');

  return (
    <>
      {/* Form for initial messages */}
      {messages.length === 0 && (
        <form onSubmit={handleSubmit}>{/* ... */}</form>
      )}

      {sources.length > 0 && <>{/* ... */}</>}

      {messages.map((message, i) => (
        <p key={i}>{message.content}</p>
      ))}

      {/* Form for follow-up messages */}
      {messages.length > 0 && (
        <form>
          <input
            value={newMessageText}
            onChange={(e) => setNewMessageText(e.target.value)}
            type="text"
          />
        </form>
      )}
    </>
  );
}

Weโ€™ll make a new submit handler called handleMessage that will look a lot like the end of our first handleSubmit function:

// app/page.tsx
function Page() {
  const [messages, setMessages] = useState([]);
  // ...

  async function handleMessage(e) {
    e.preventDefault();

    const newMessages = [
      ...messages,
      {
        role: 'user',
        content: newMessageText,
      },
    ];

    const chatRes = await fetch('/api/chat', {
      method: 'POST',
      headers: { 'Content-Type': 'application/json' },
      body: JSON.stringify({ messages: newMessages }),
    });
    setMessages(newMessages);

    ChatCompletionStream.fromReadableStream(chatRes.body).on(
      'content',
      (delta) => {
        setMessages((prev) => {
          const lastMessage = prev[prev.length - 1];

          if (lastMessage.role === 'assistant') {
            return [
              ...prev.slice(0, -1),
              { ...lastMessage, content: lastMessage.content + delta },
            ];
          } else {
            return [...prev, { role: 'assistant', content: delta }];
          }
        });
      }
    );
  }

  // ...
}

Because we have all the messages in React state, we can just create a new object for the userโ€™s latest message, send it over to our existing chat endpoint, and reuse the same logic to update our appโ€™s state as the latest response streams in.

The core features of our app are working great!

Digging deeper

React and Together AI are a perfect match for building powerful chatbots like LlamaTutor.

The app is fully open-source, so if you want to keep working on the code from this tutorial, be sure to check it out on GitHub:

https://github.com/Nutlope/llamatutor

And if youโ€™re ready to start building your own chatbots, sign up for Together AI today and make your first query in minutes!